

Welcome to Arana’s list of trusted colleagues in the home services, contracting services, and building and remodeling industry!
Our team has personally vetted these providers in our two decades of serving with or beside them for our shared clients.
We hope that this guide is a resource for you as you steward your greatest asset, your home.
Amato Architecture
510-420-0210
Ecobuild Architects
510-522-1100
The Architect’s Office
(510) 556-8860
Anastasia Faella Interior Design
415-377-2325
AND Interior Design Studio
510-255-7806
Dina Bandman Interiors
650-867-8644
Heather Cleveland Design Studio
510-303-1183
JD Designs
925-326-6601
Lane McNab
510-204-9363
LMB Interiors
510-531-8438
Mead Quin
510-858-7338
Nystrom Design
415-347-7109
Design Set Match
510-285-0870
Leah Marie Interiors
925-326-6601
Cass Morris Color & Design Consulting
510-524-1726
Blue Dog Construction and Renovation
510-260-6058
FMSProjects Inc.
415-722-9805
Jetton Construction
510-845-3506
Jungsten Construction
415-381-3162
McCutcheon Construction
510-558-8030
Design/Build Contractors
AT6
415-503-0555
buildingLab
510-420-1133
Arca Design Group
510-558-0636
Sue Oda
510-684-8789
studio M MERGE
510-698-4863
DPG Pavers & Design
925-293-2989
FG Pavers & Turf
925-344-7173
Derrick Holt, Solar Energy Systems of California, Inc.
925-963-6674
A1 Sun, Inc.
510-526-5715
Segale Bros.
800-286-2915
Stonewood Kitchen and Bath
925-933-2245
Elegant Flooring Design Center
925-732-6200
Floortex – Danville
925-838-5580
Tulip Hardwood Floors
510-558-2030
All Natural Stone – Berkeley
510-843-5959
Steele & Stone
510-955-7734
Golden State Window and Door Design — Berkeley Showroom
510-506-0716
Portals Wood Window and Door
510-676-6664
Truitt & White
510-649-4400
Joona Fabriculture
510-689-1173
Govers Sidewall Shingling
503-427-8837
All Panthers Plumbing, Inc.
510-952-9570
Garcia Plumbing and Home Restoration
925-566-4057
The Lunt Marymor Company
510-985-2889
Christman Electrical Contracting
707-332-2814
Constellation Lighting and Electric
510-326-0696
Momentum Electrical
888-280-0794
Lektricman, Kent Cates
415-244-1256
Anastasia Faiella Fine Art
415-377-2325
Marrow Gallery
415-463-2055
SLATE Contemporary Gallery
510-652-4085
Andi Yablonski
415-867-1825
Charles Leonard Decorative Finishes
510-541-1616
Caroline Lizarraga
415-724-3200
David Zurun
510-524-8928
Hire My Husband
925-969-0133
Honey Homes
510-519-9317
NetZero Builder
510-999-2963
Easy Life Home Solutions
510-672-9489
Zuliana Figueroa, Greener Janitorial, Inc.
510-563-0570
Marin Sanitary Service
415-456-2601
Cameron Chiechi
408-439-8820
FLUID
408-800-1309
The Organized One
510-482-5892
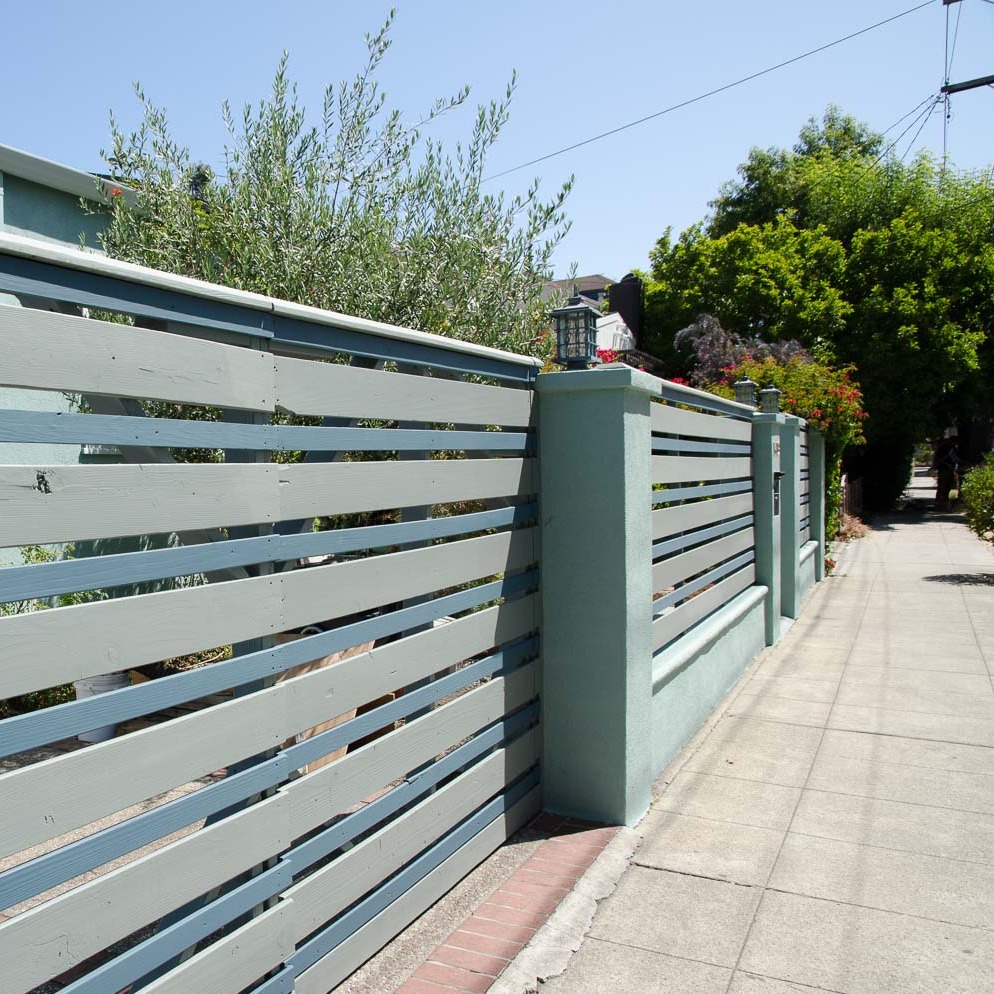
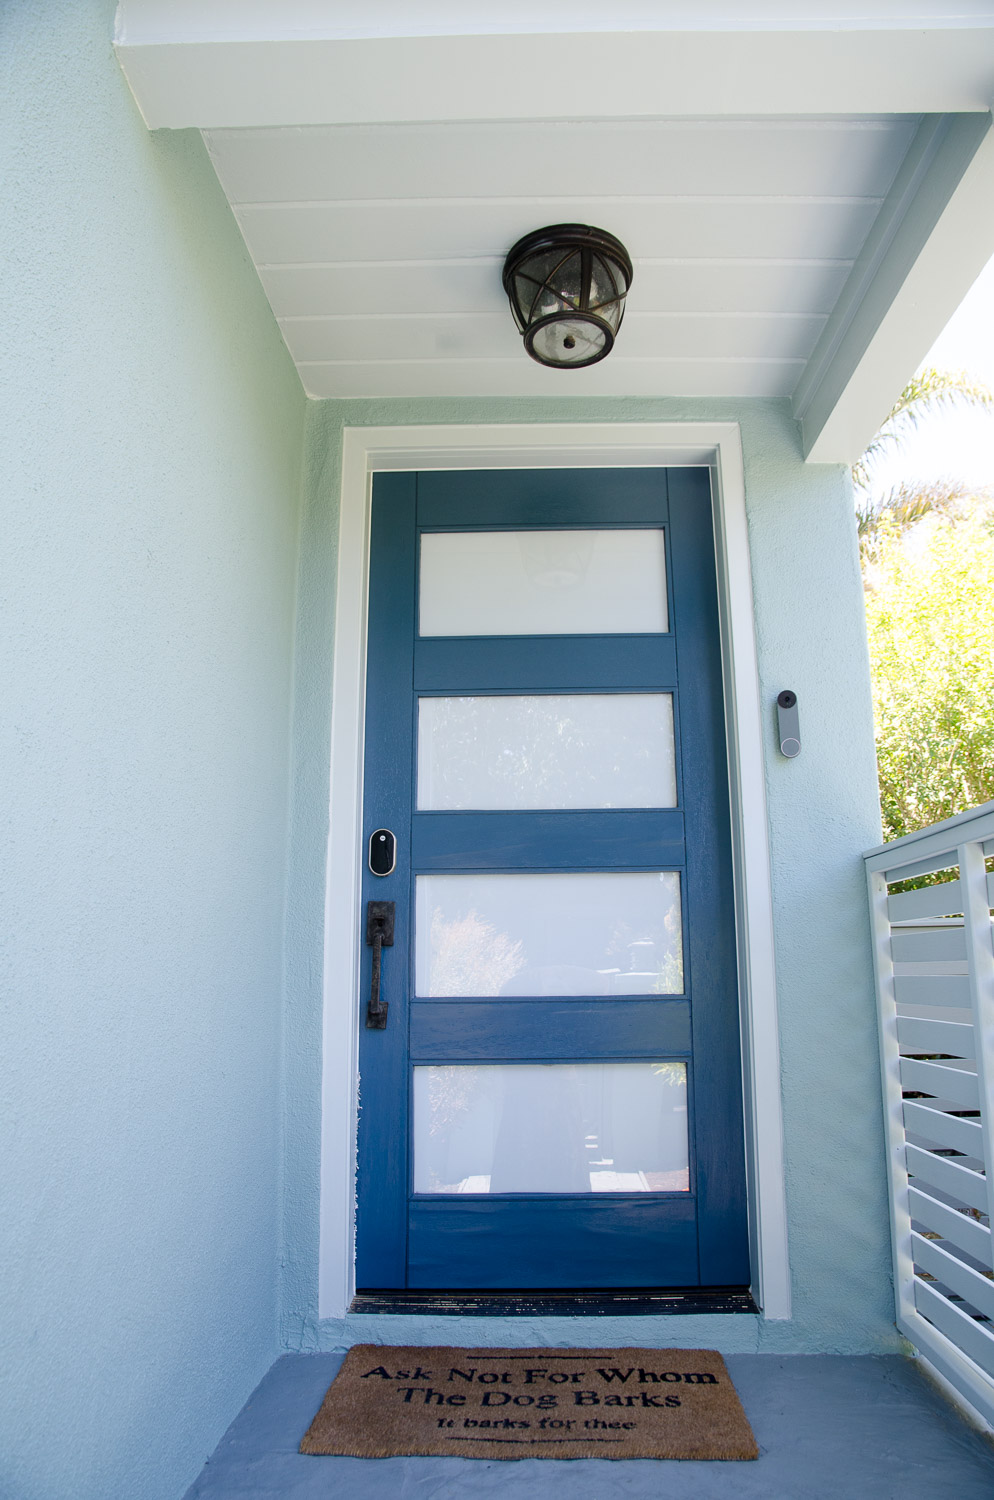
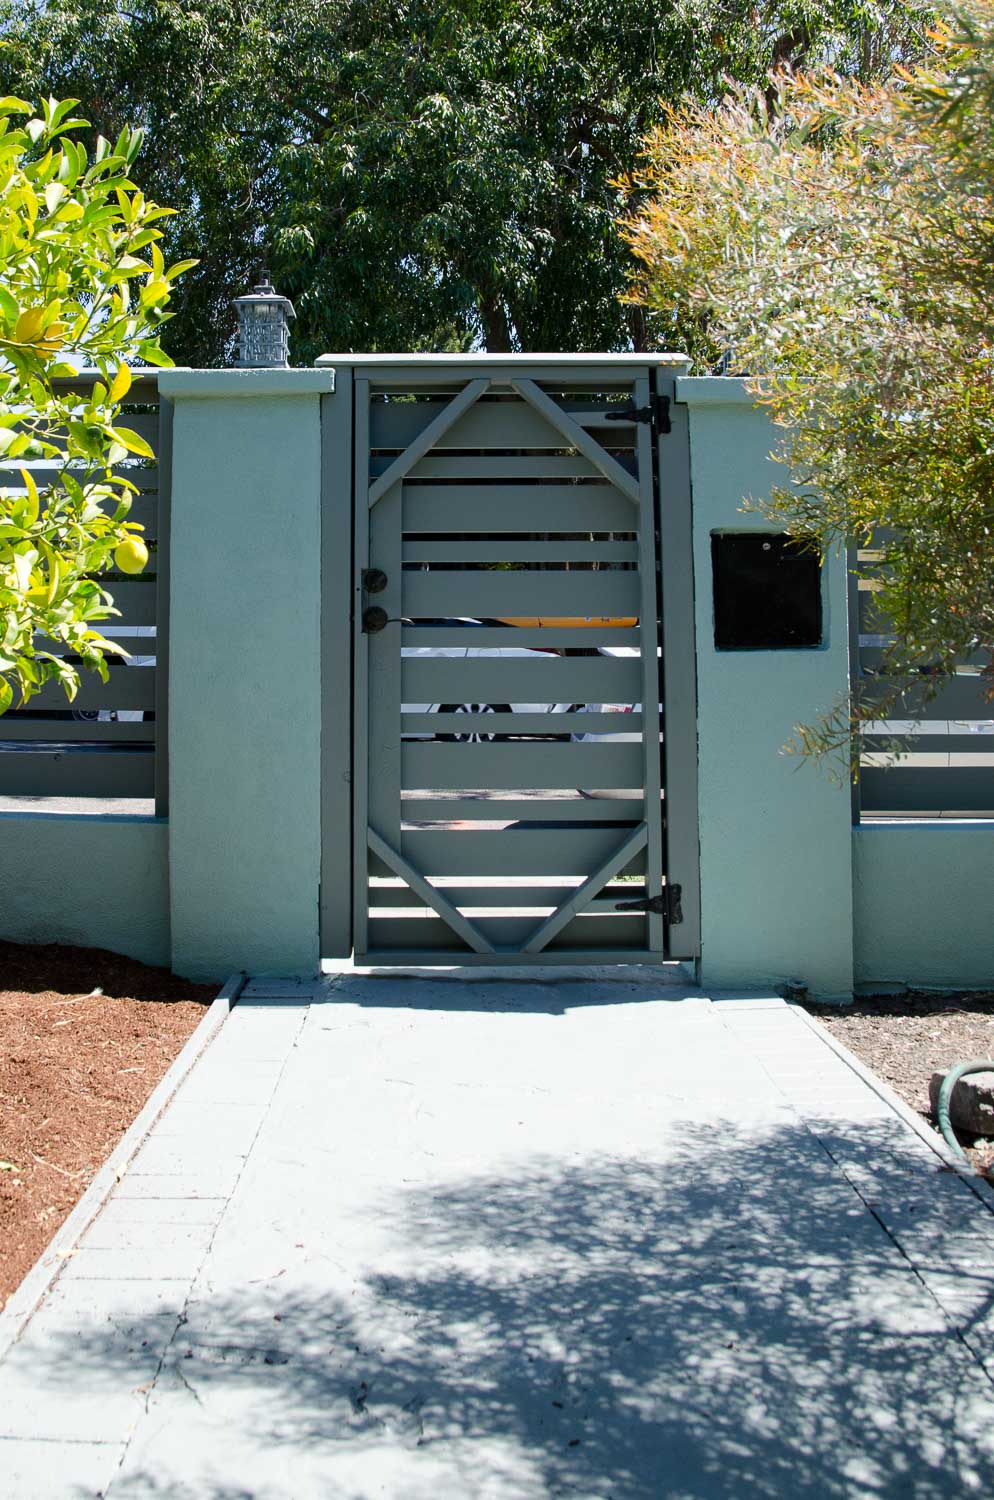
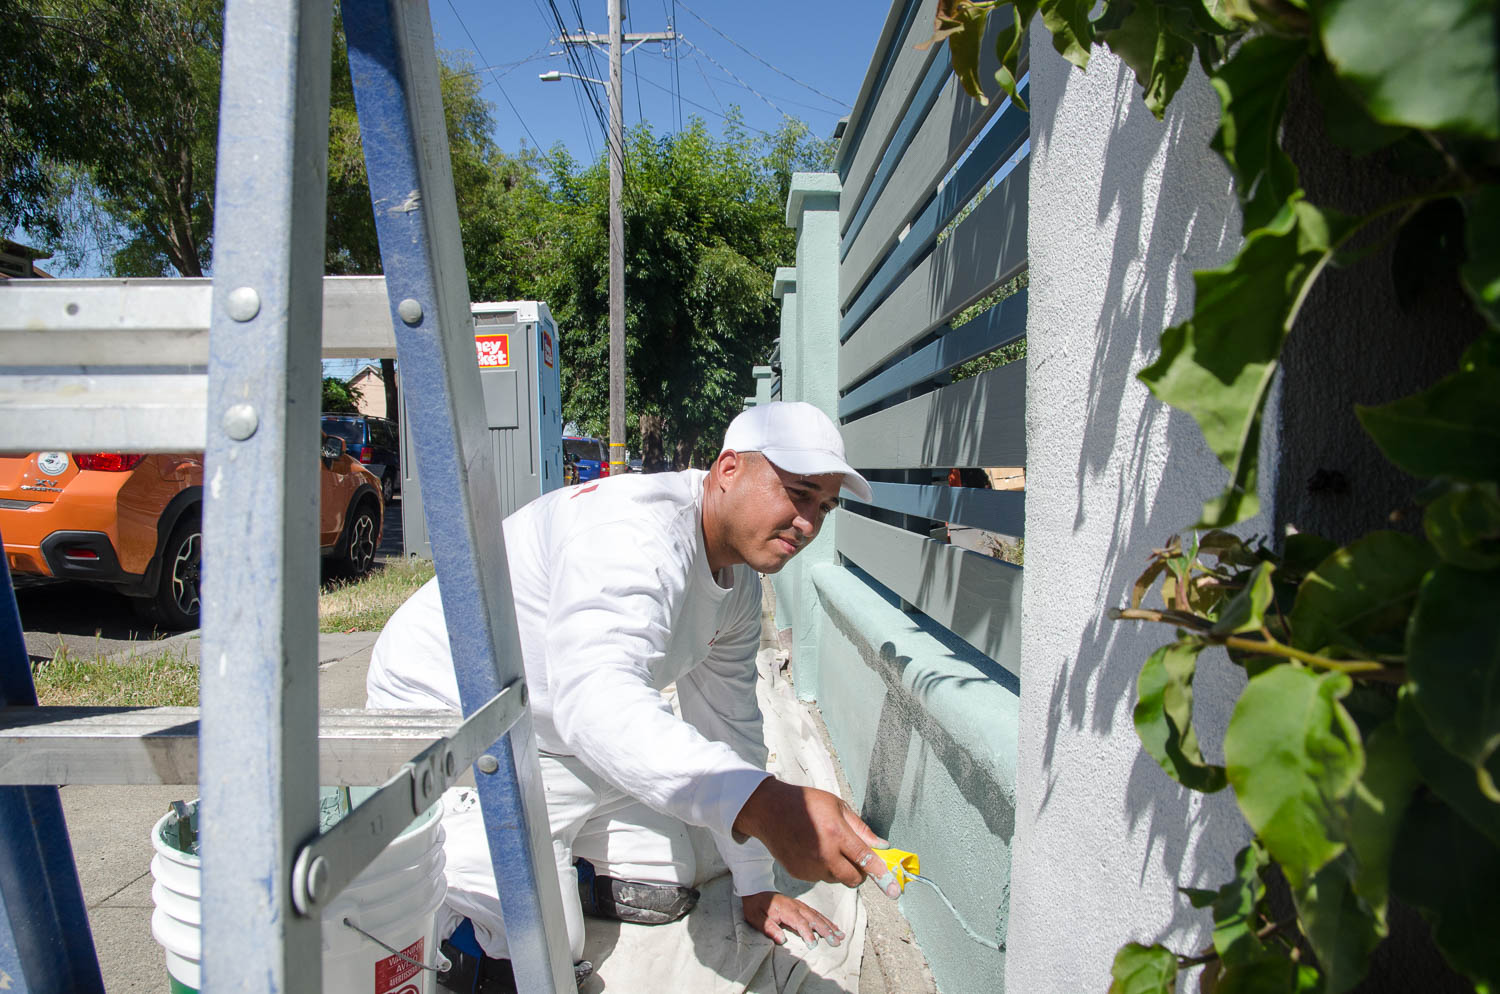
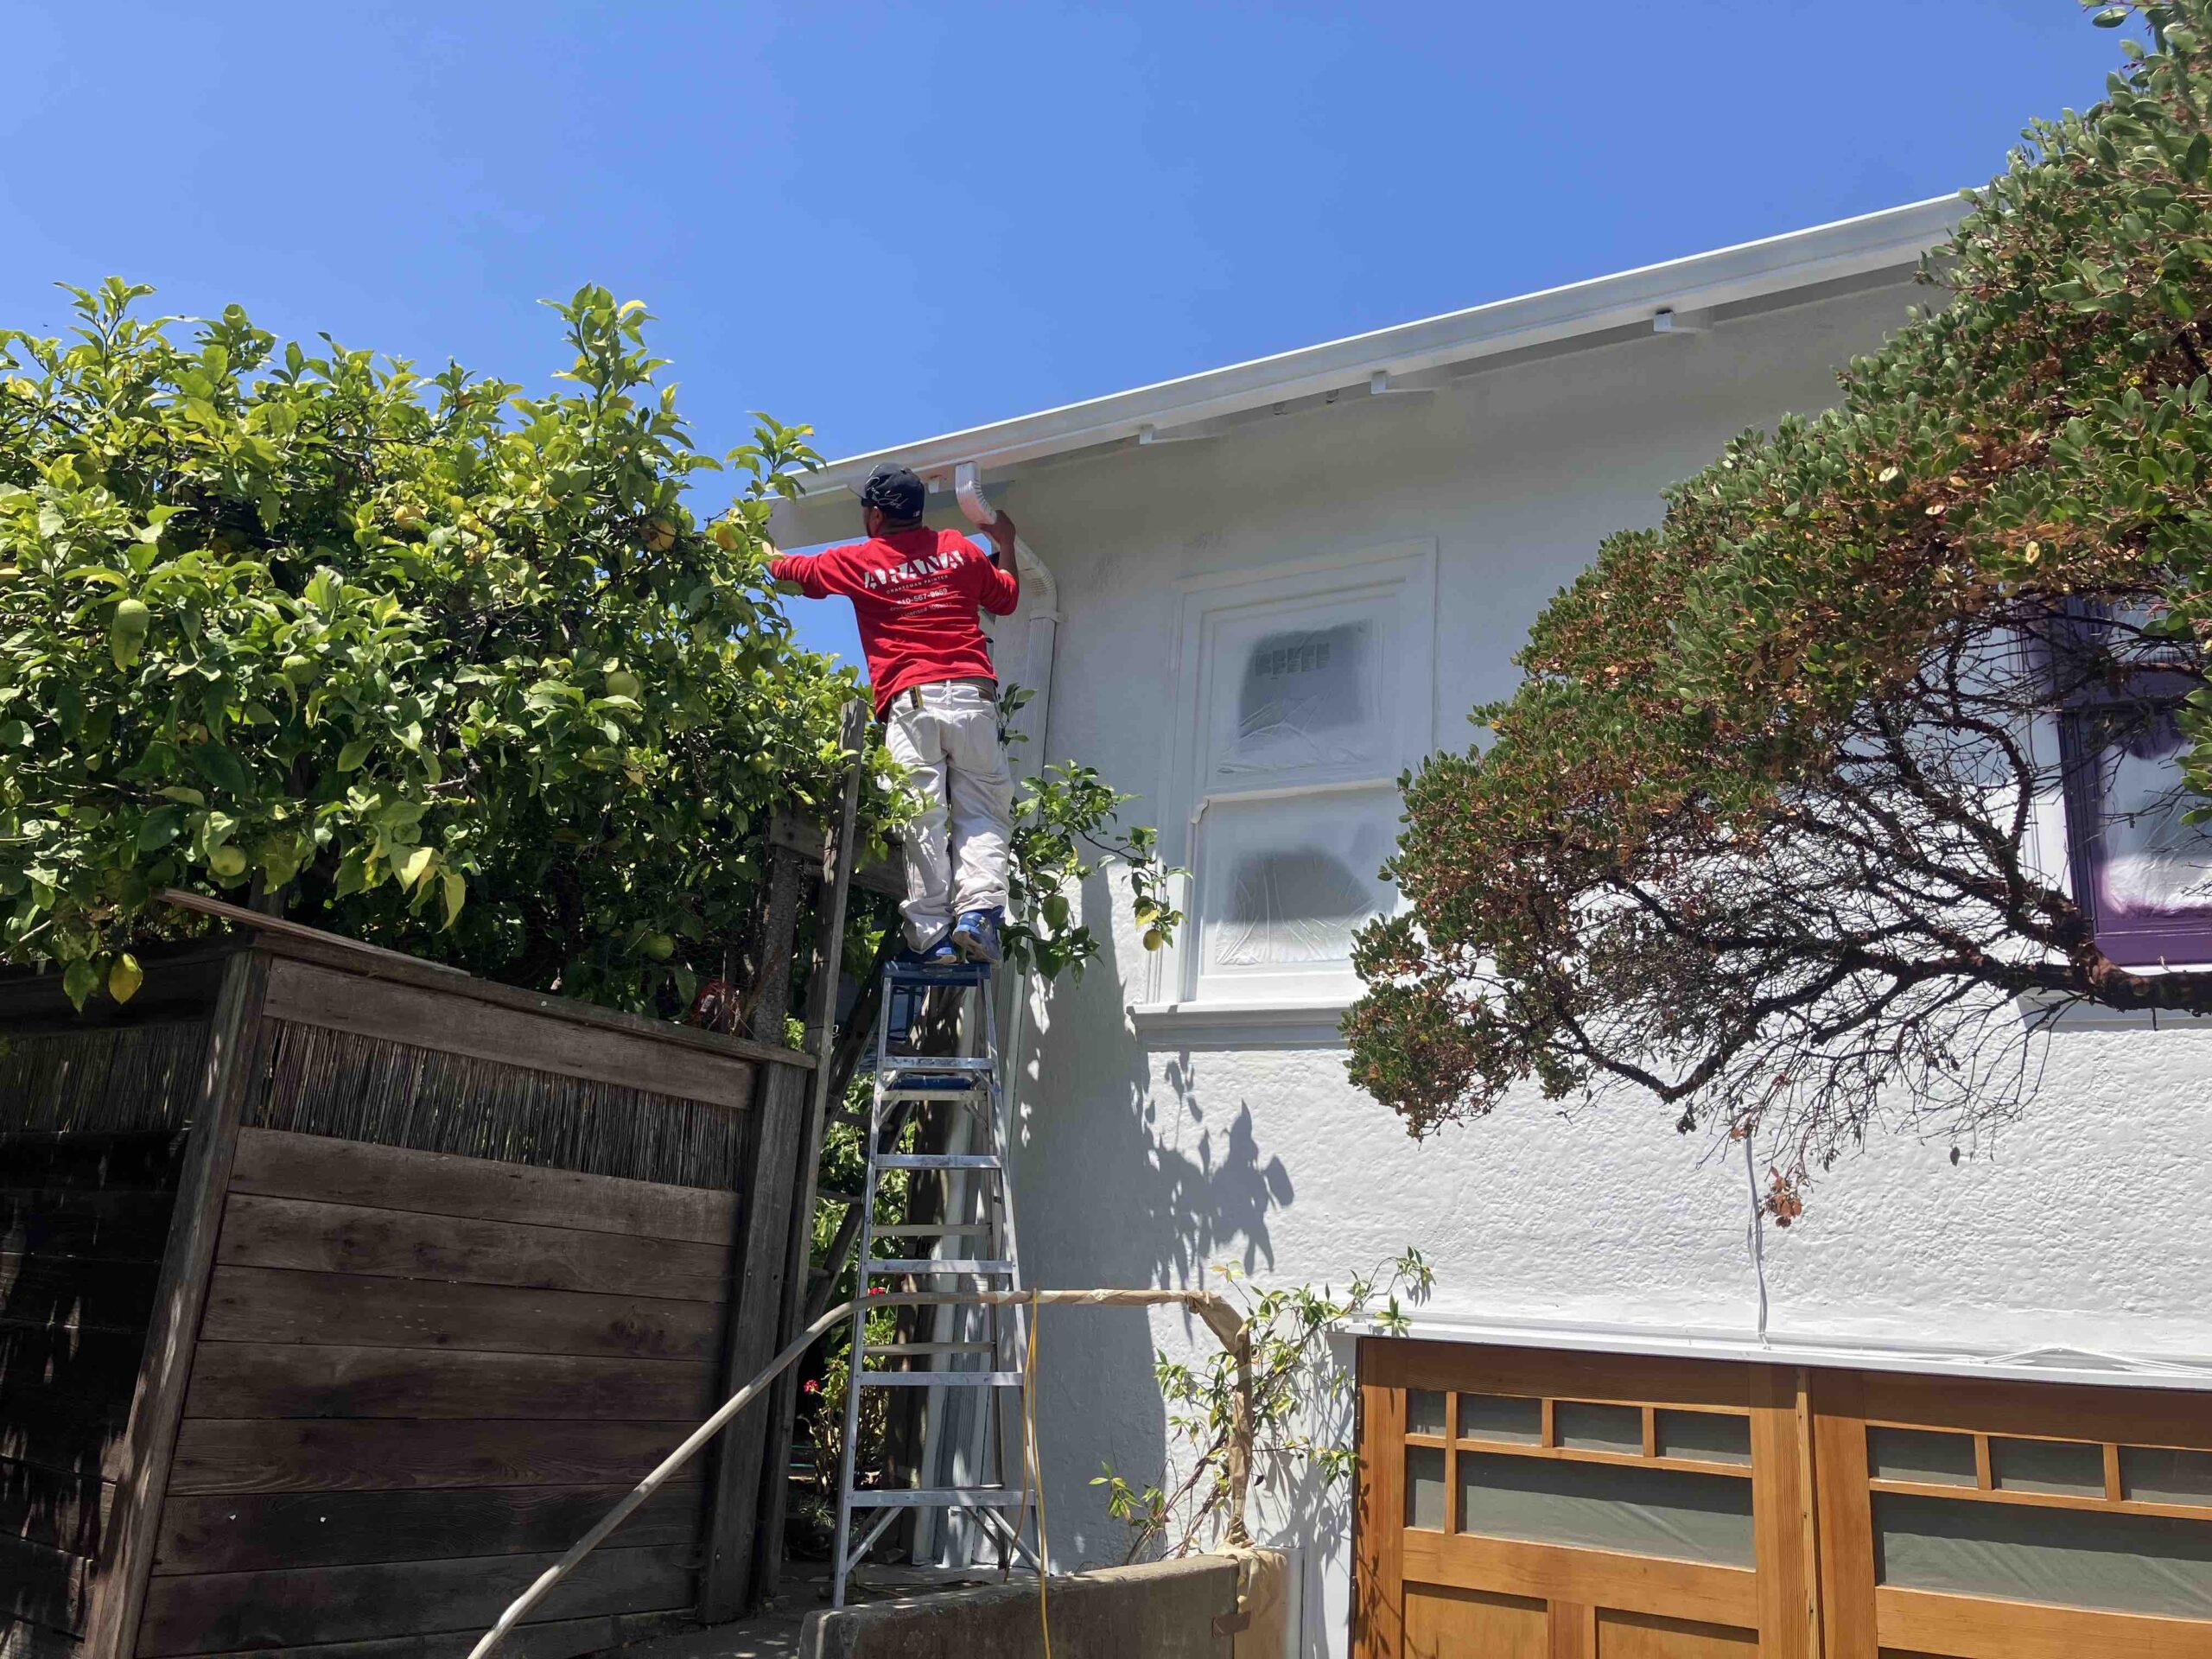
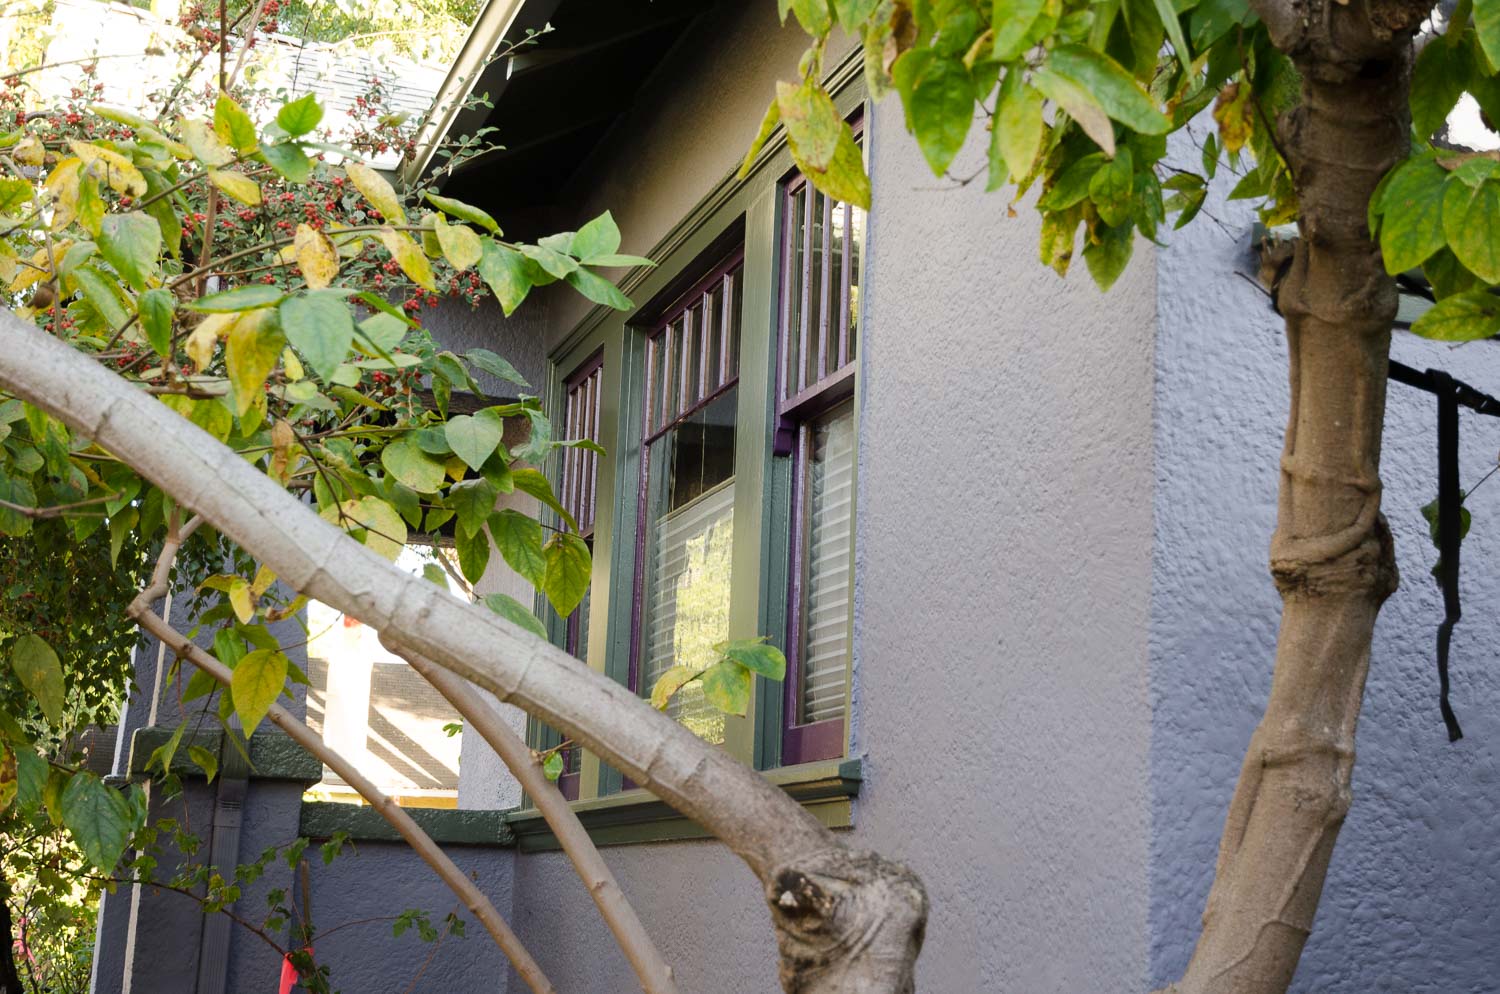
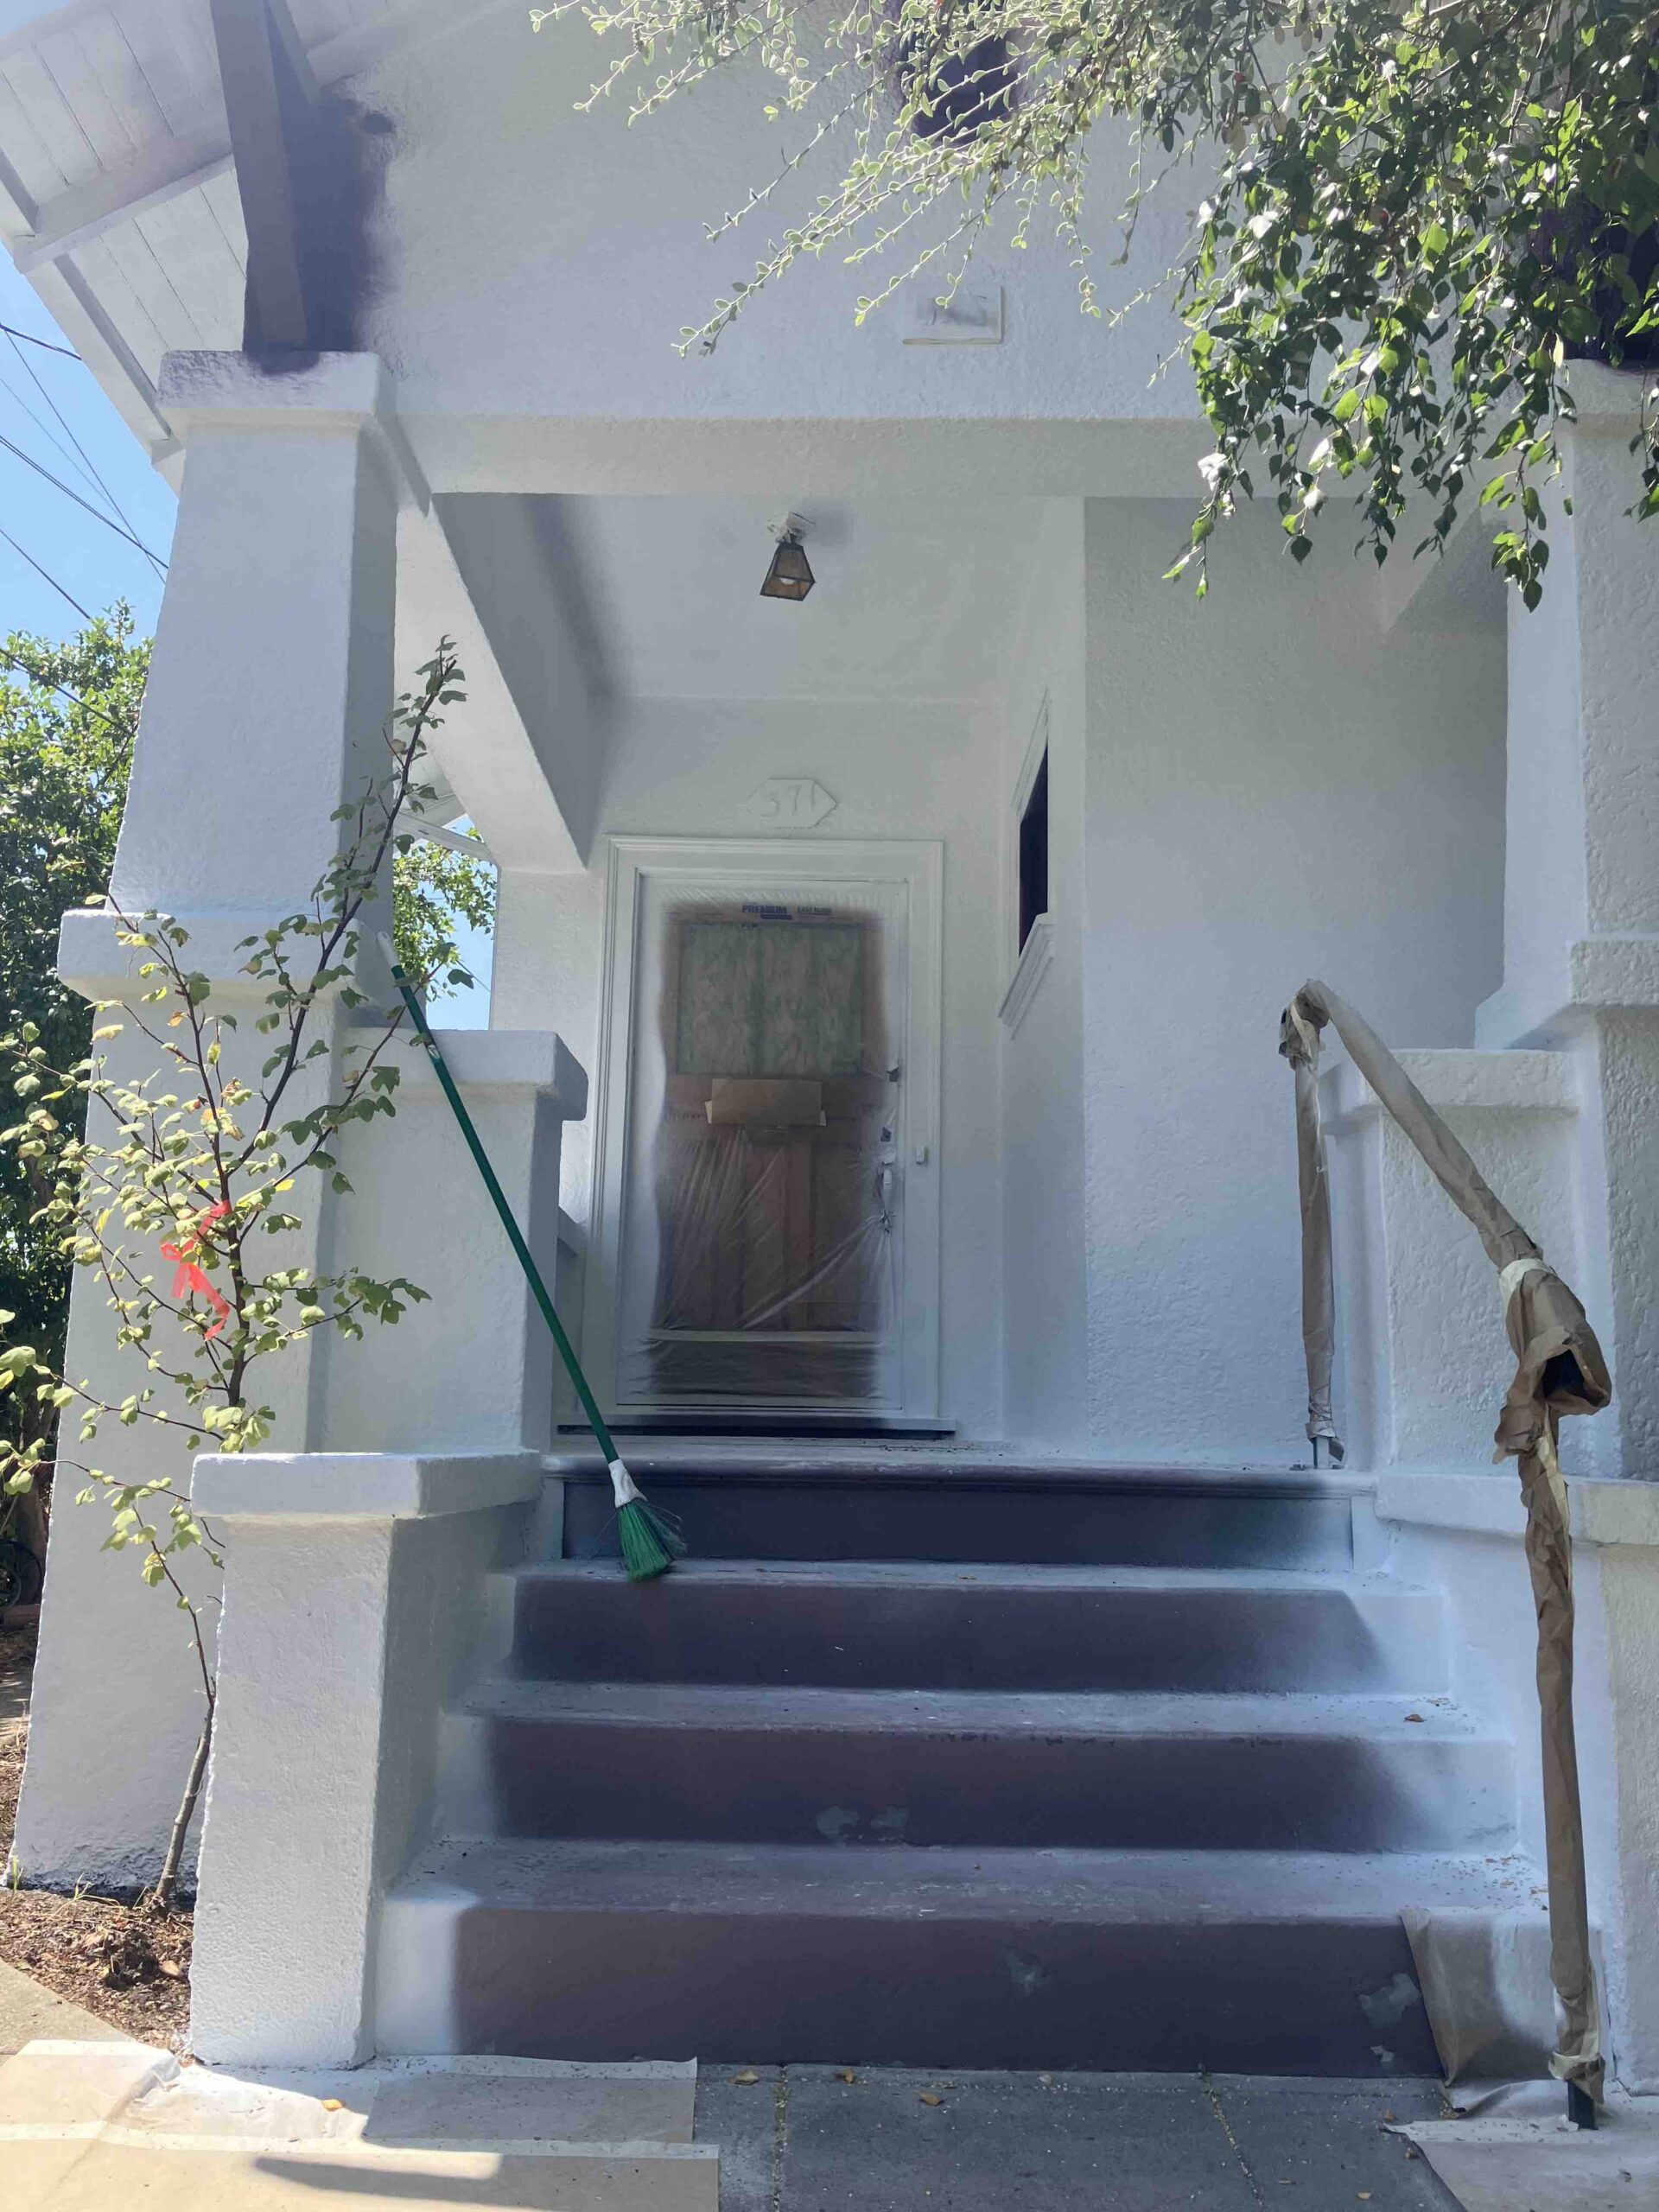
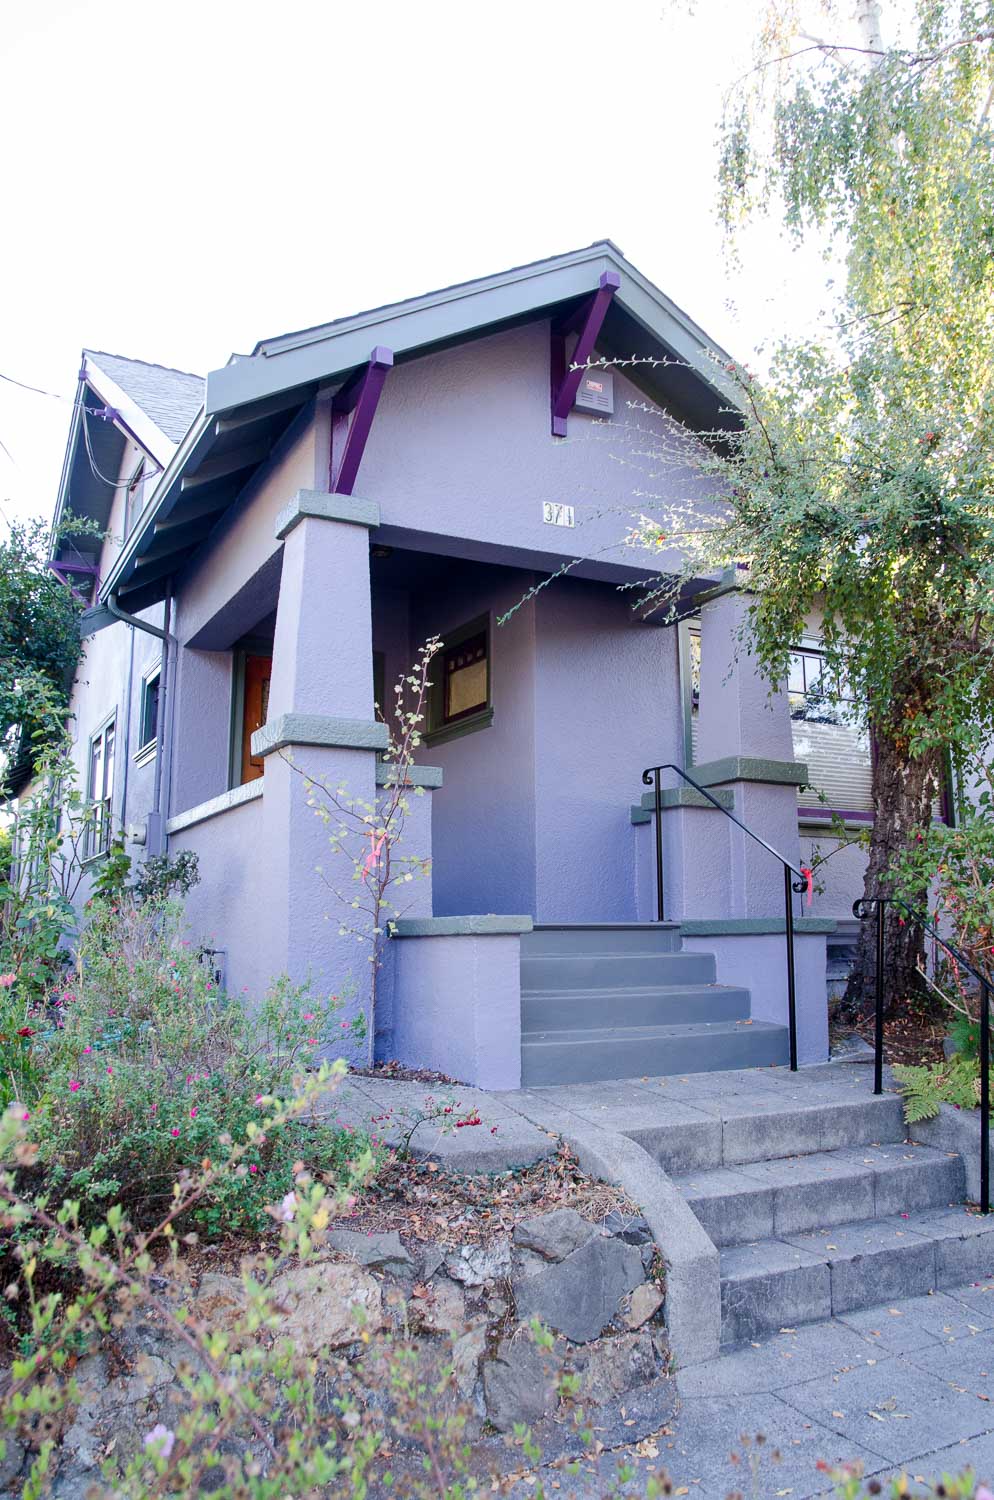
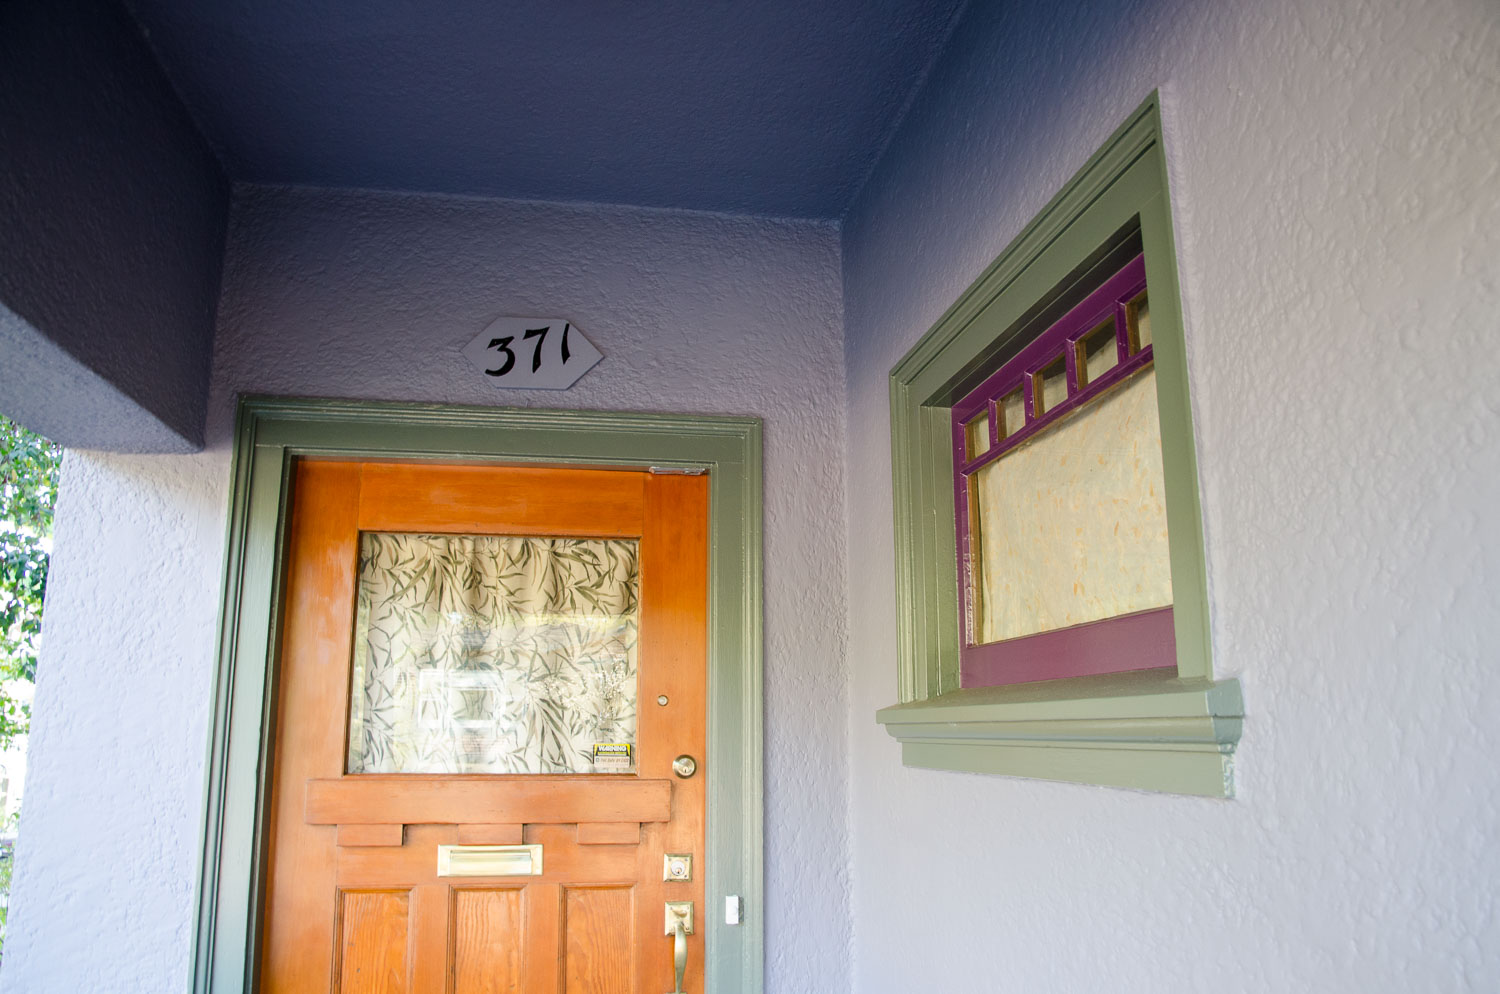
Oakland, CA – December 12, 2024 – Arana Craftsman Painters, a trusted name in the Bay Area’s painting industry, is proud to announce its continued dedication to providing top-quality house painting services in Oakland, CA. With over 60 years of combined experience, Arana Craftsman Painters is a family-owned business committed to delivering superior craftsmanship that enhances the beauty and value of homes across the community.
Expert Painting Services Tailored to Oakland Homes
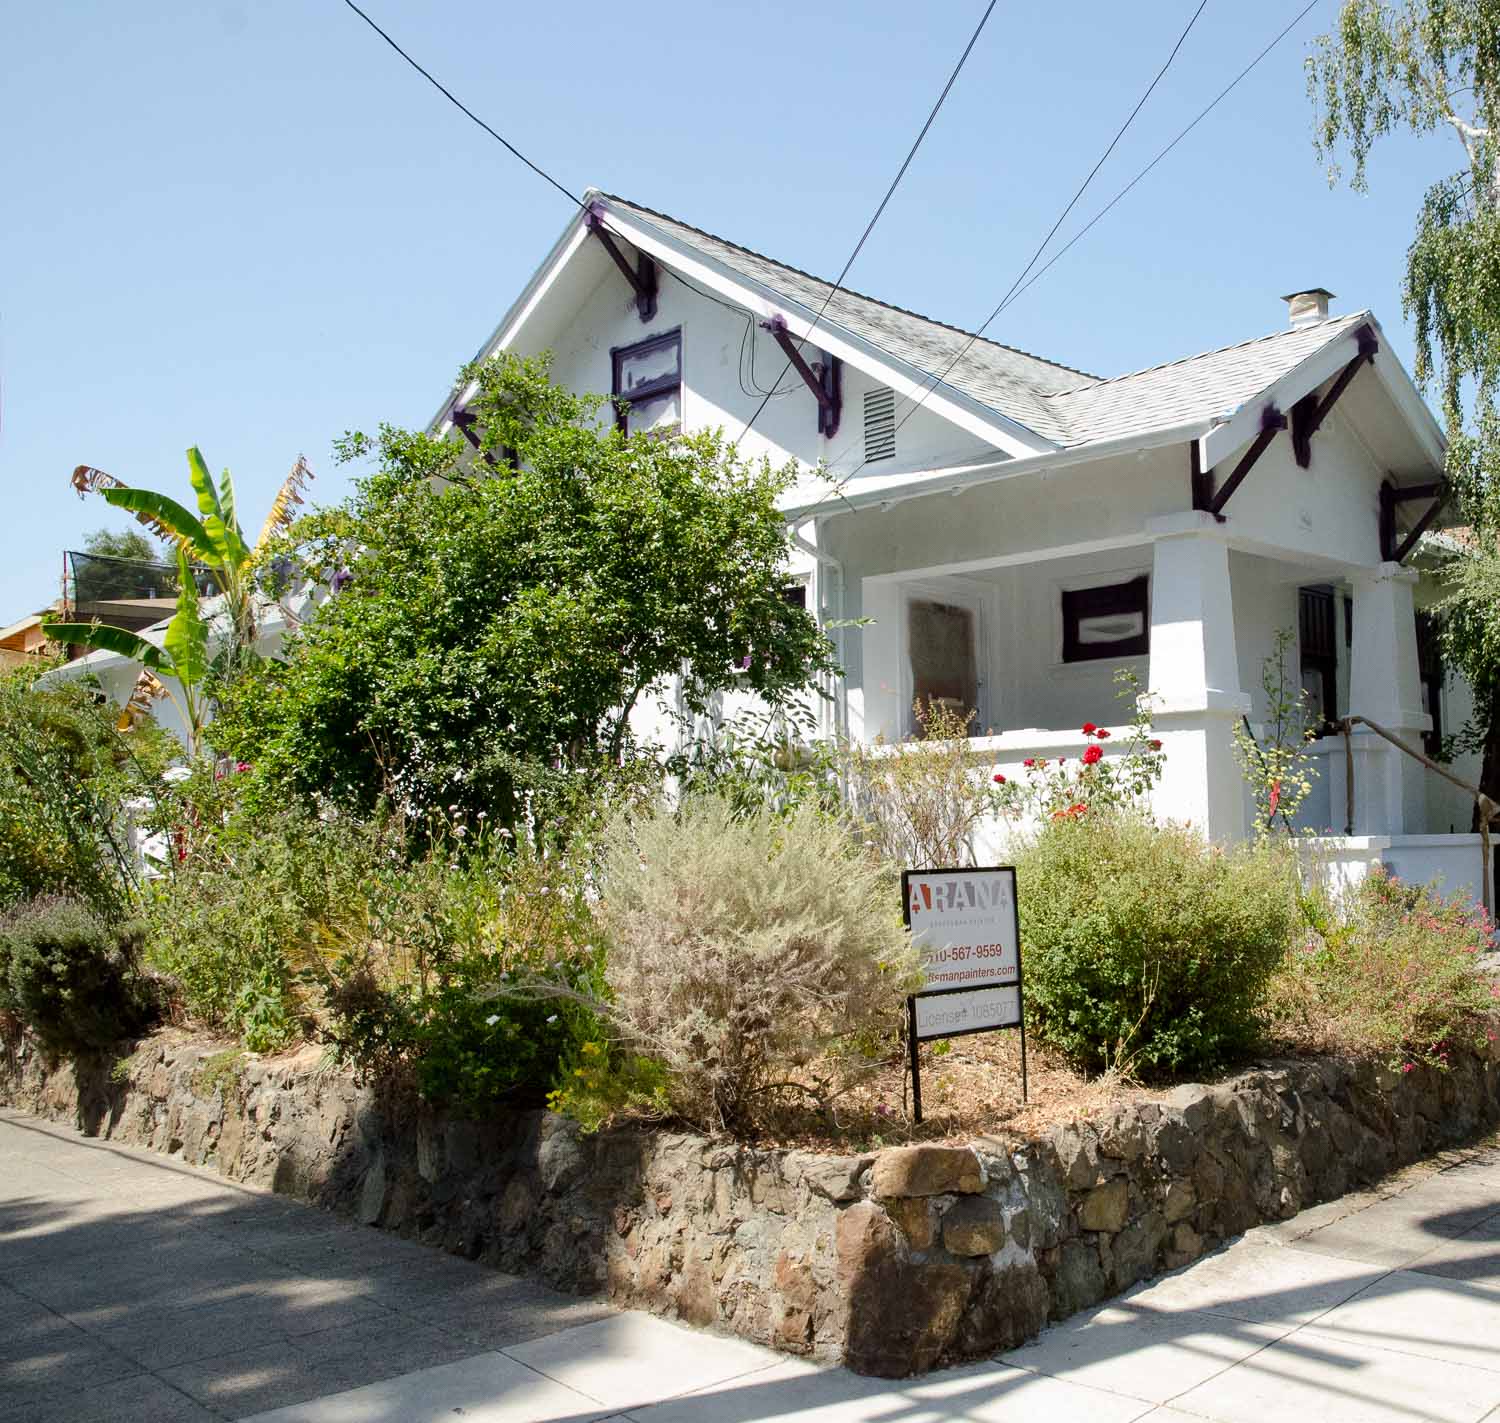
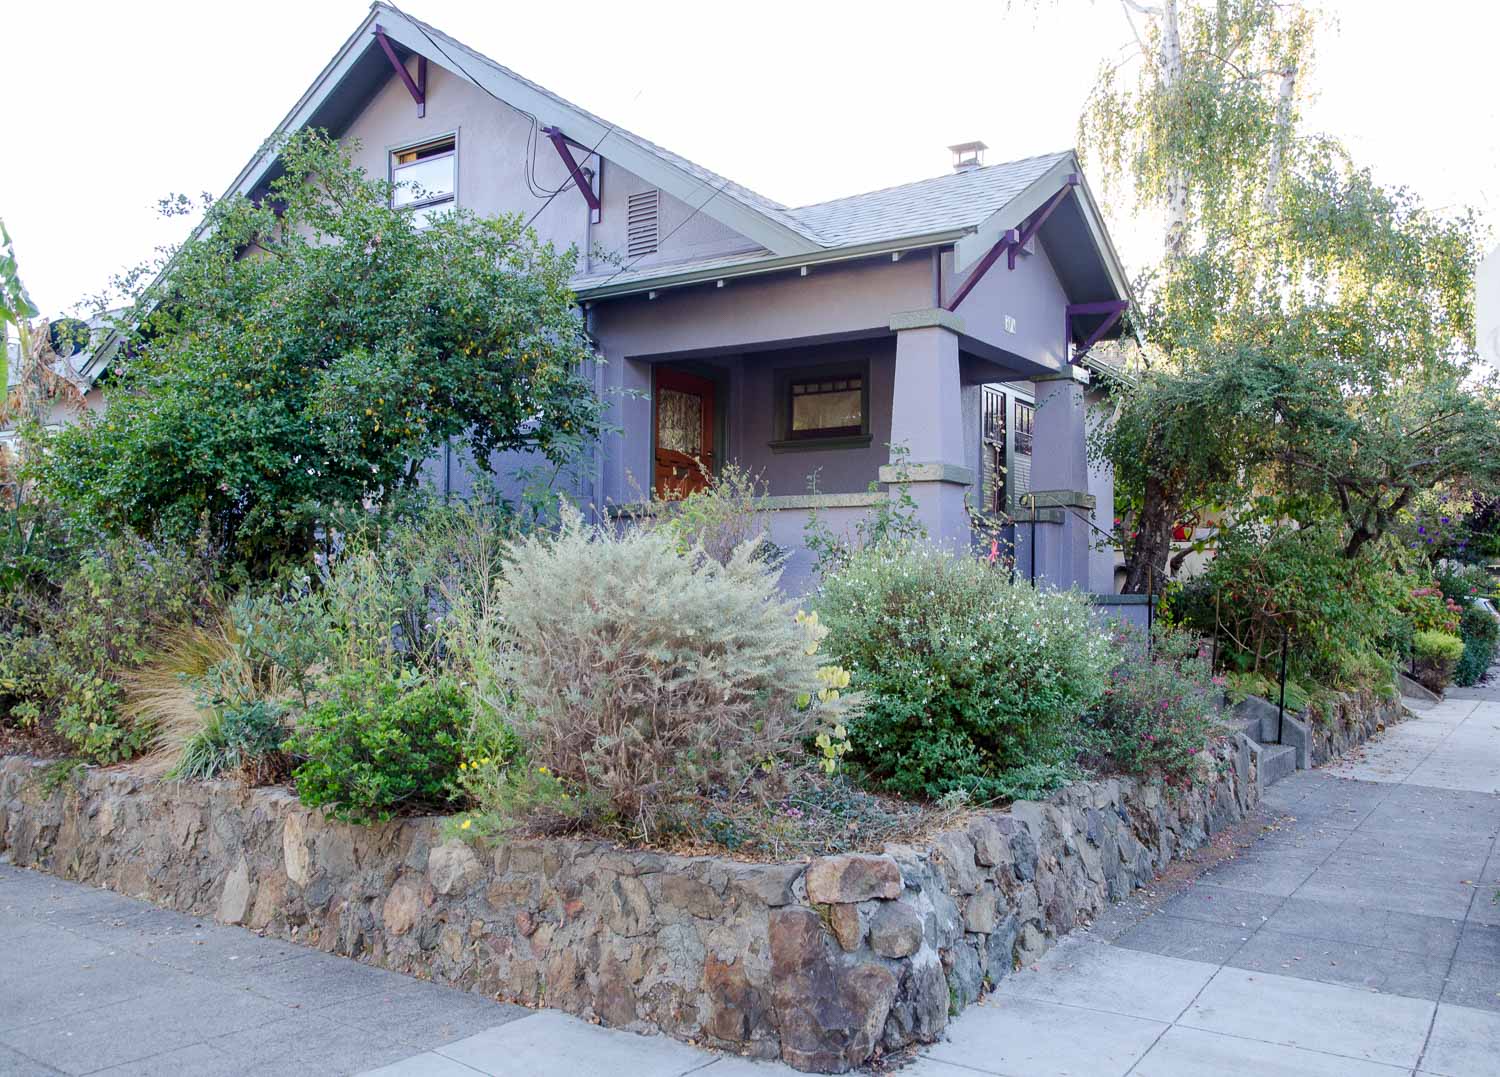
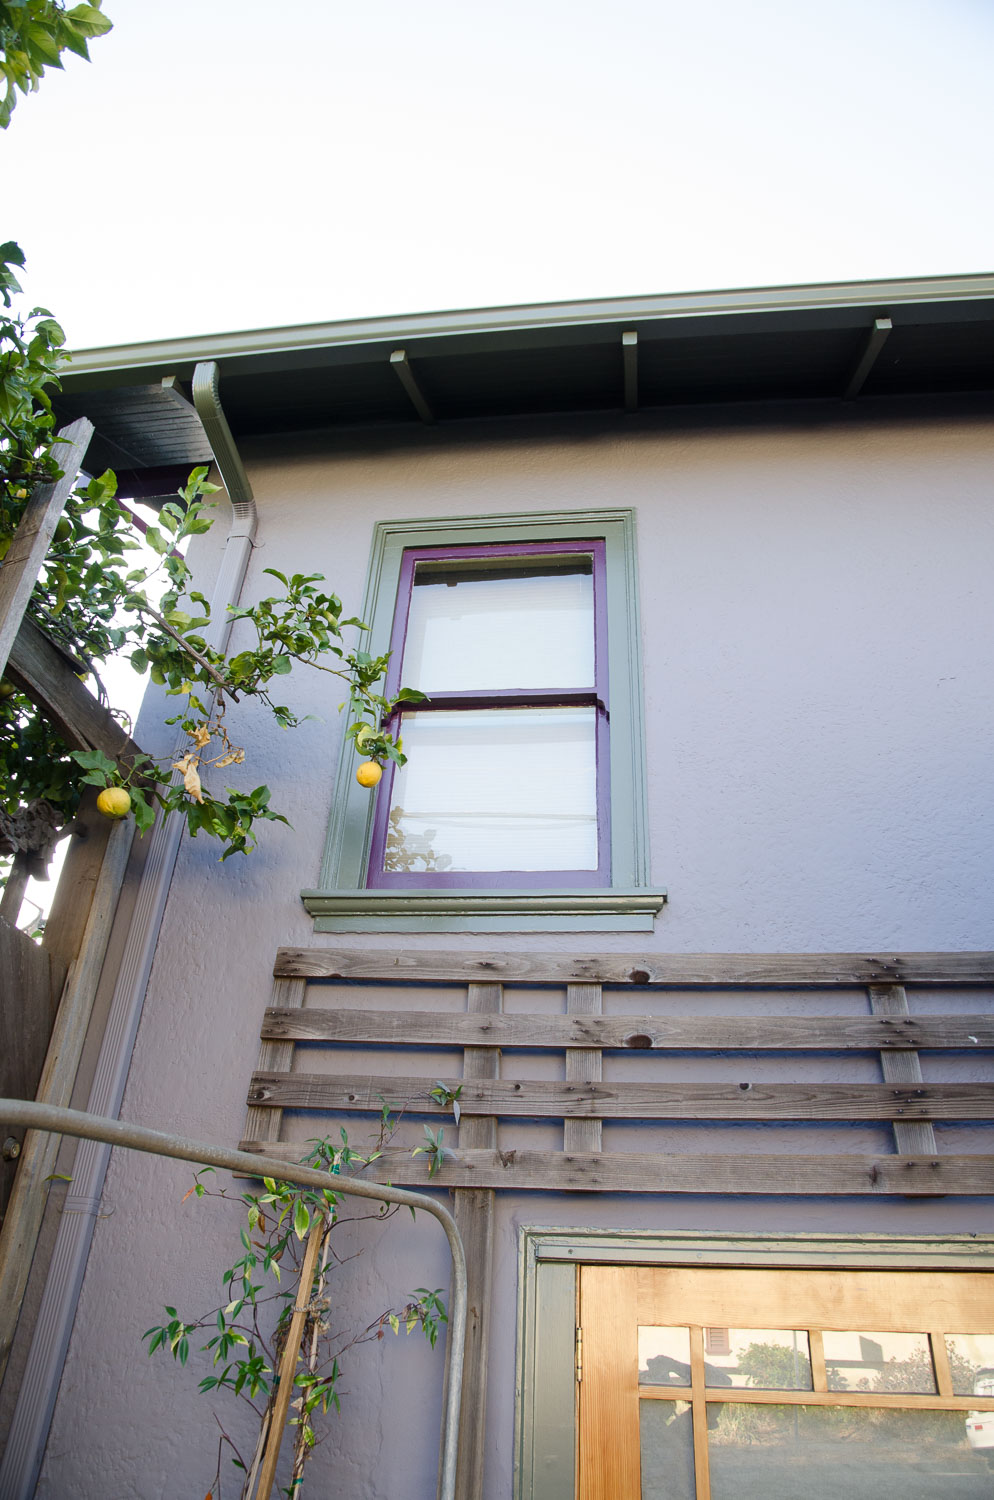
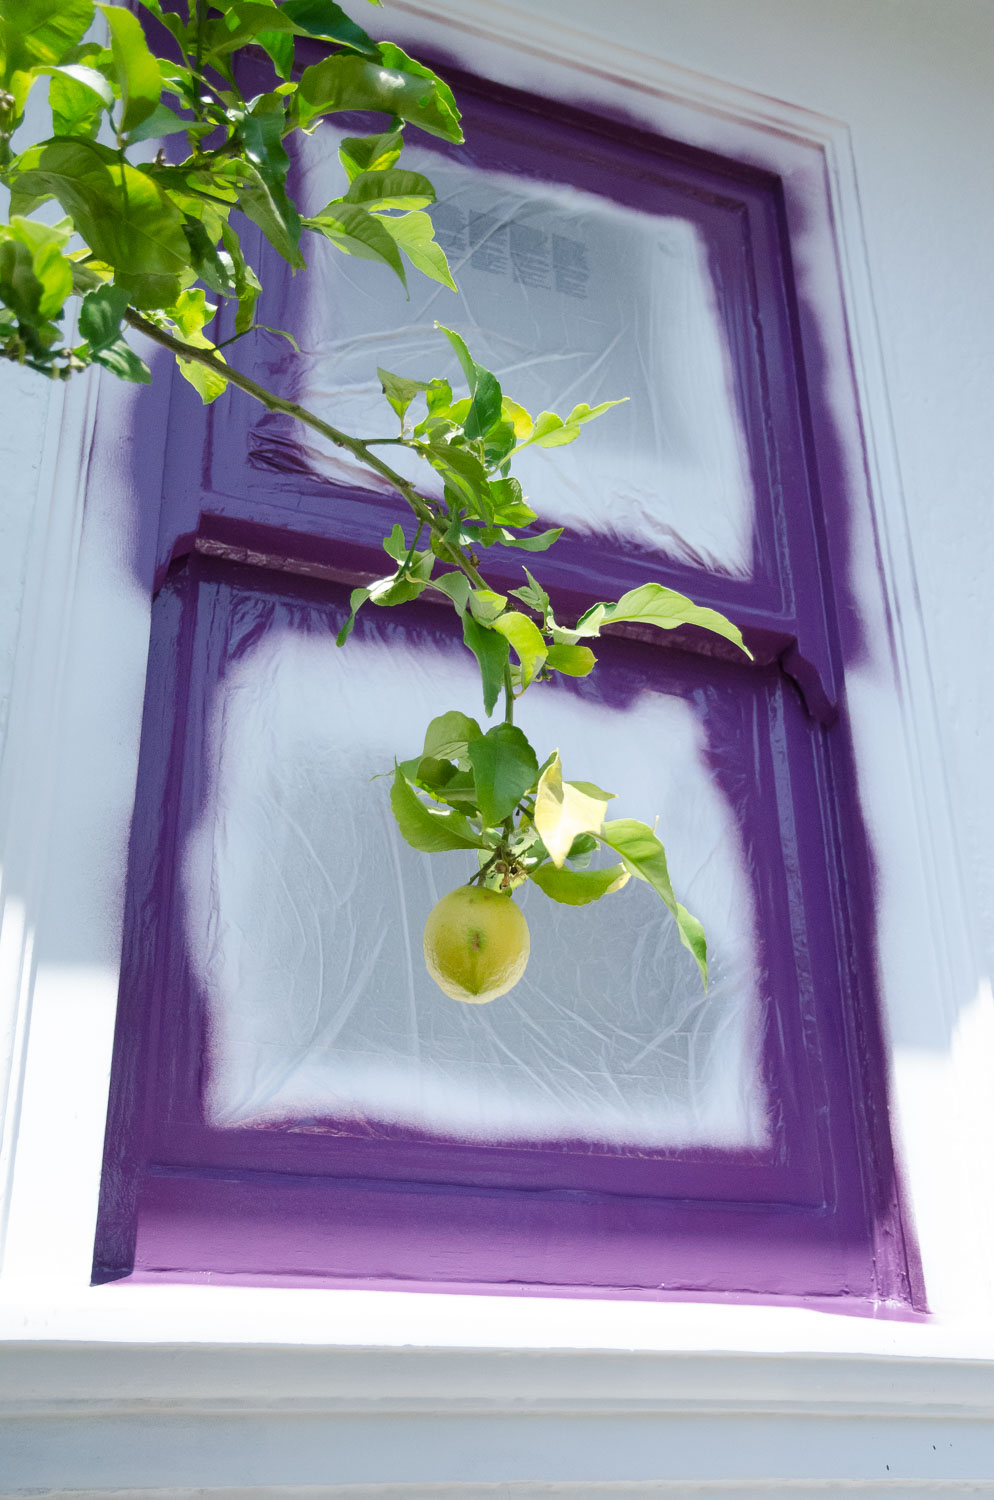
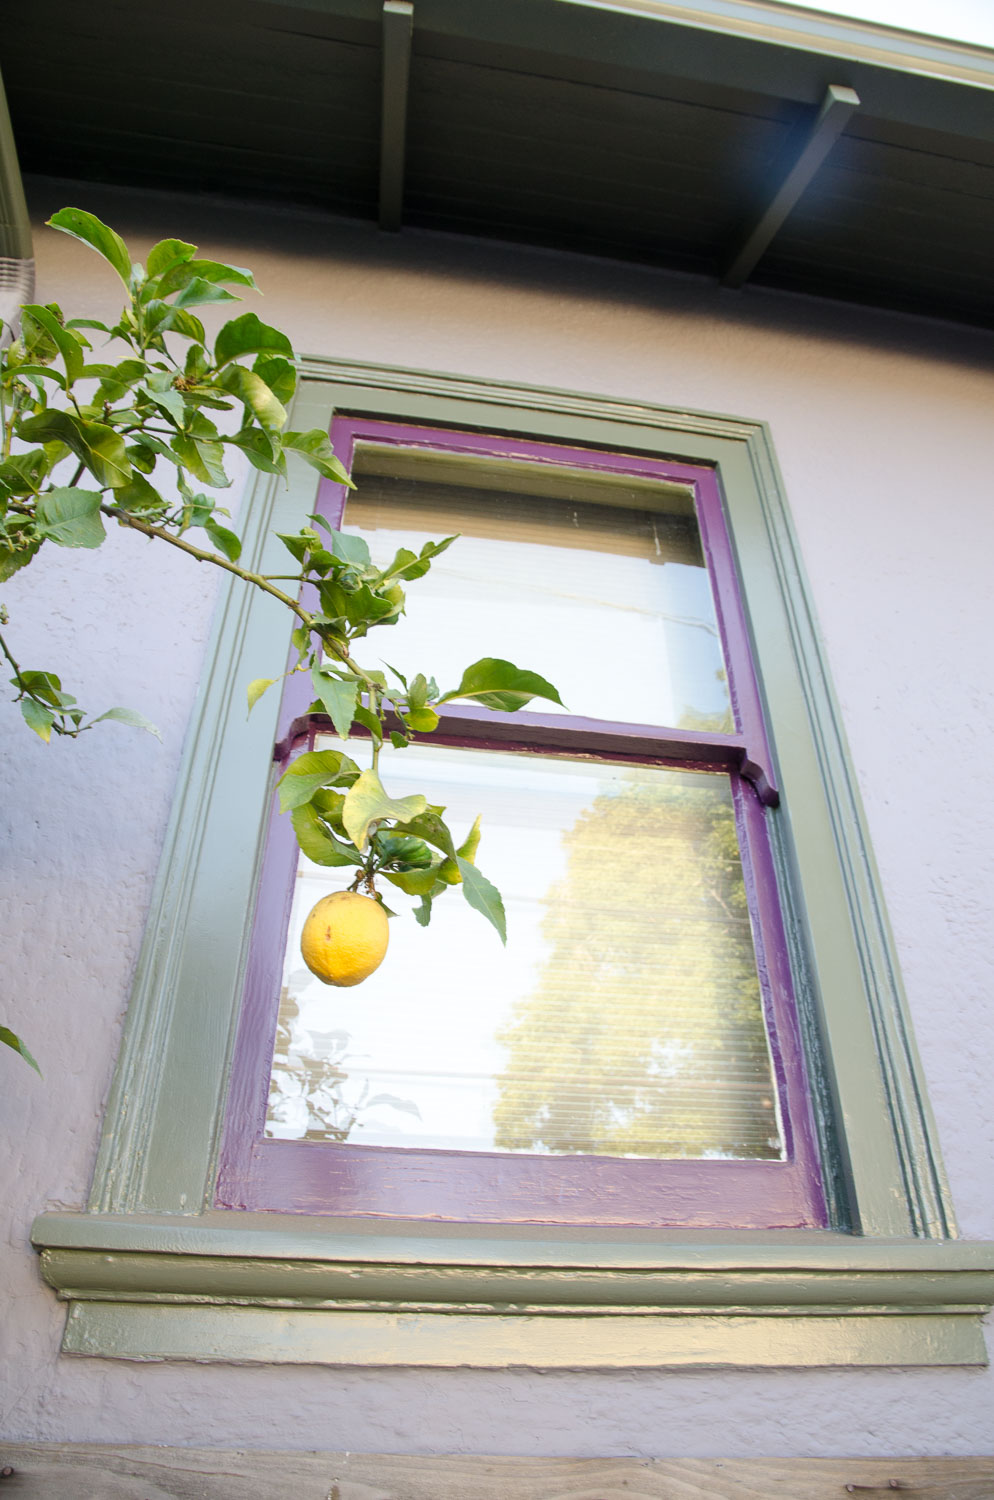
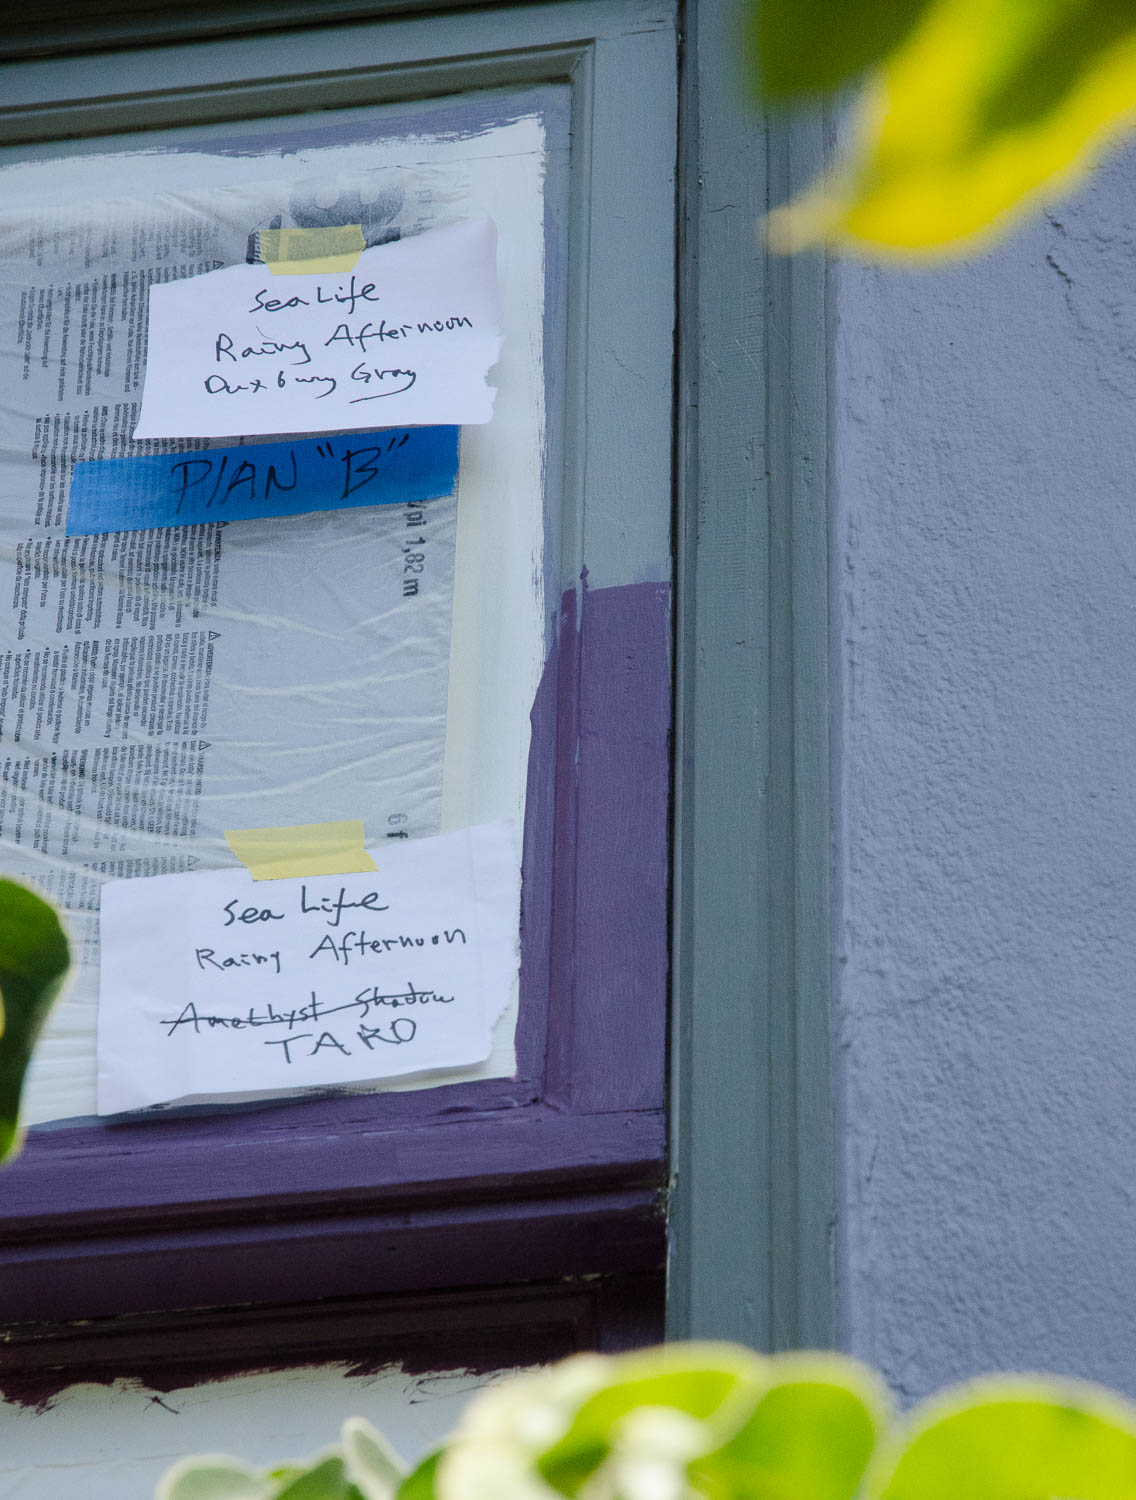
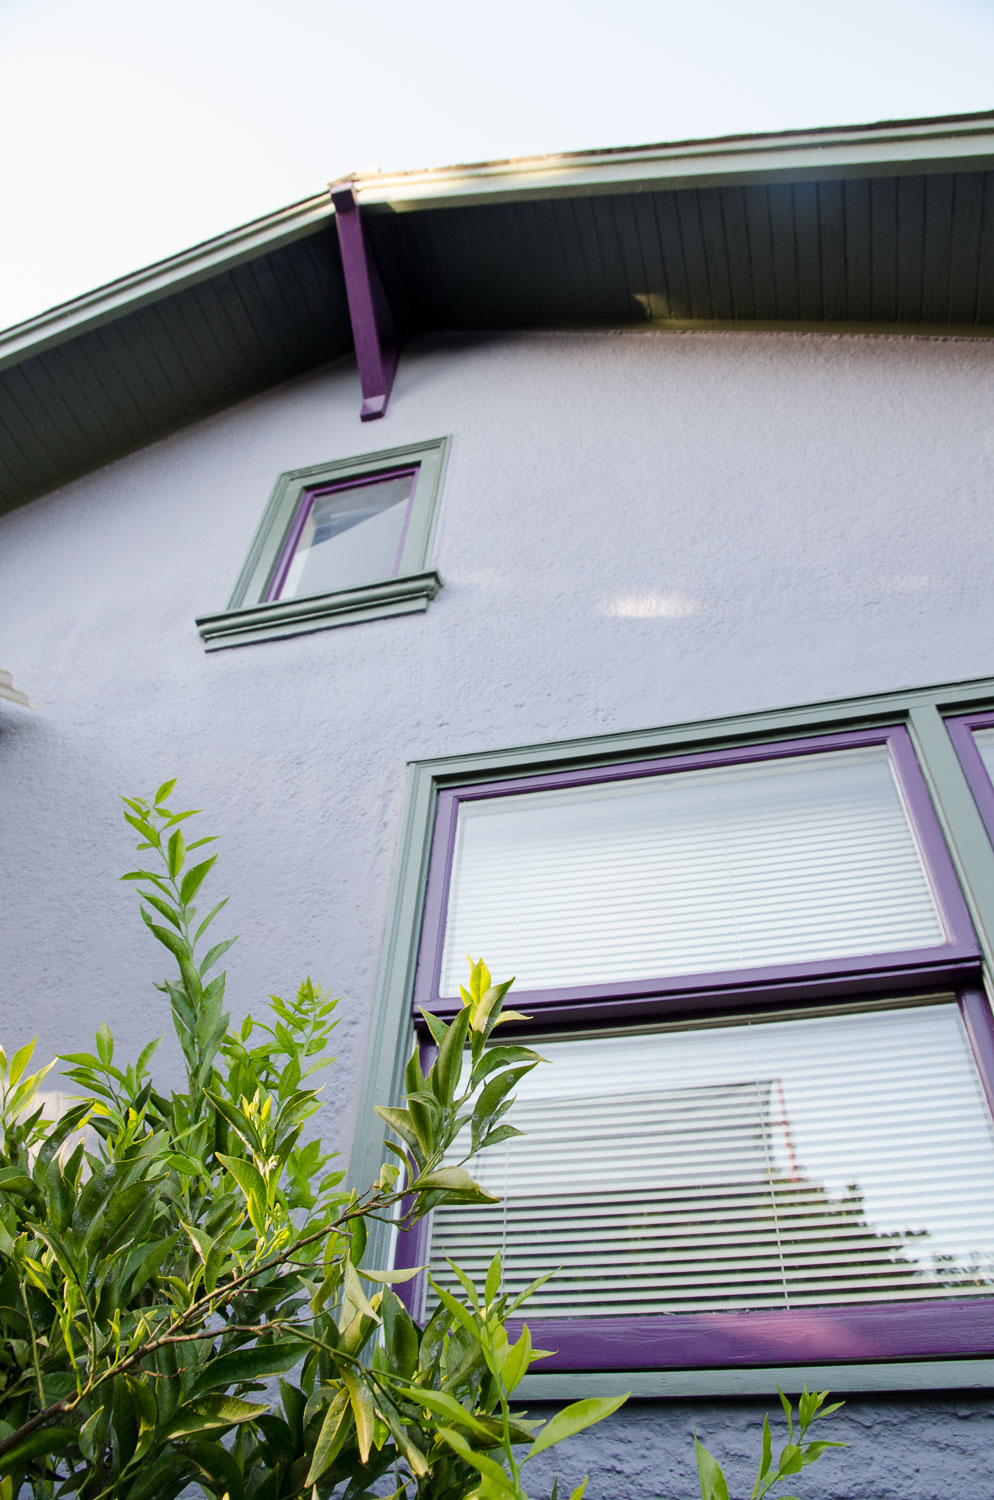
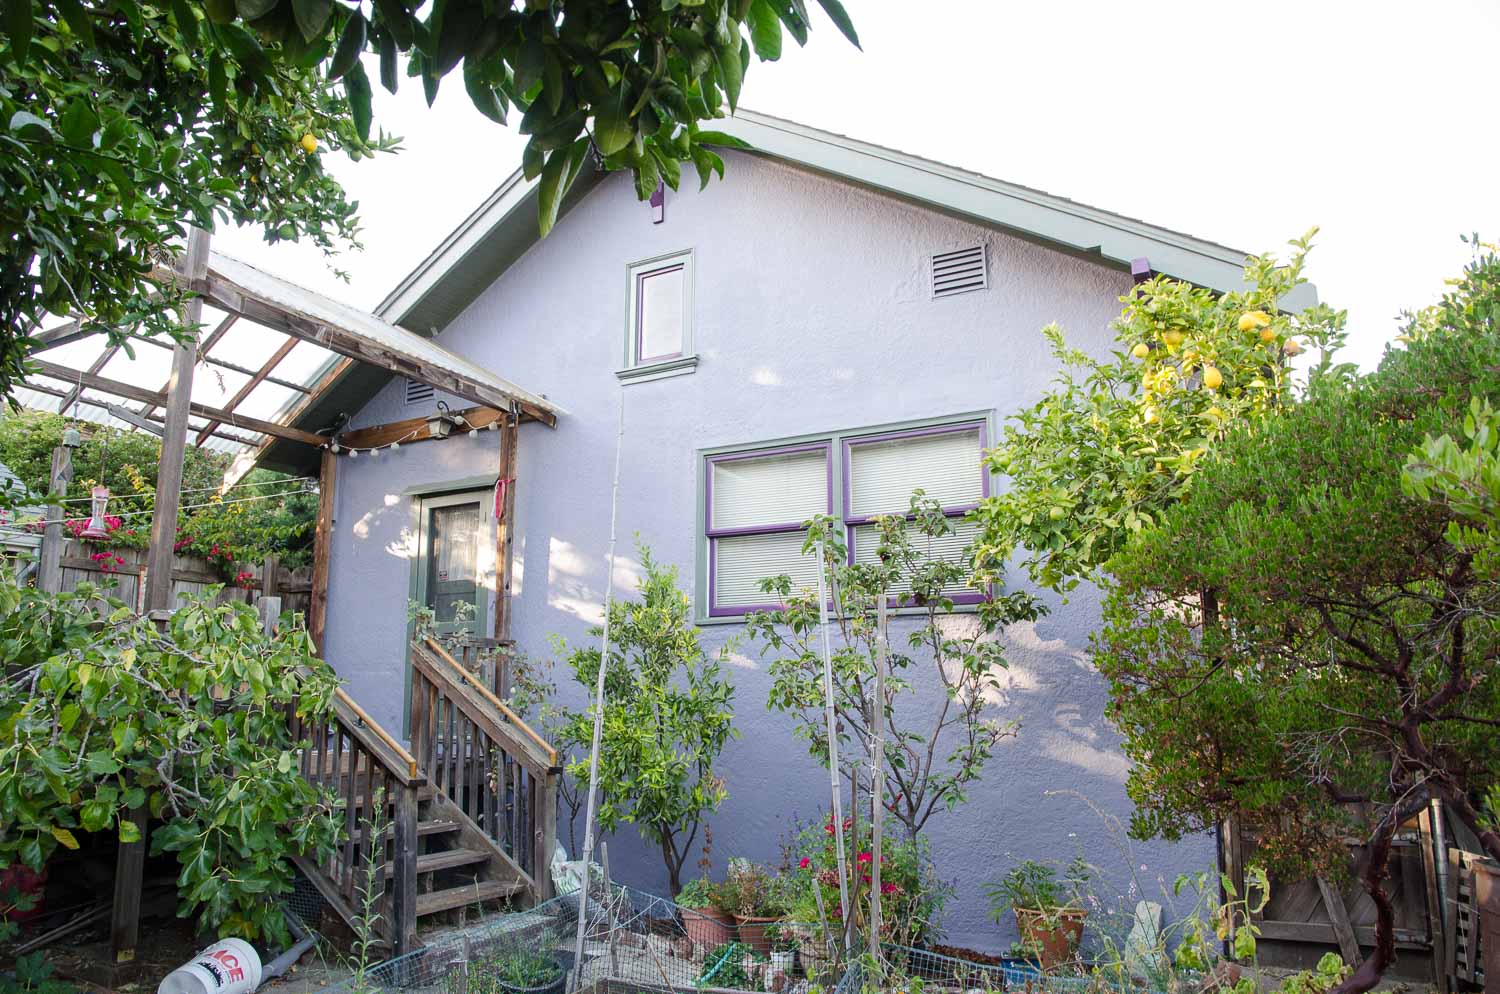
Arana Craftsman Painters specializes in both interior and exterior painting, offering services that are tailored to meet the unique needs of Oakland’s diverse architecture—from historic bungalows to modern builds. By combining traditional techniques with contemporary innovations, the team ensures stunning, long-lasting finishes that breathe new life into any property.
“We take immense pride in preserving and beautifying the structures that make Oakland such a vibrant place to live,” said a spokesperson for Arana Craftsman Painters. “Our goal is not only to protect homes but also to create spaces where families can thrive and take pride in their surroundings.”
Why Choose Arana Craftsman Painters?
Arana Craftsman Painters stands out for its dedication to excellence, personalized service, and use of premium, eco-friendly materials. Key benefits of choosing Arana include:
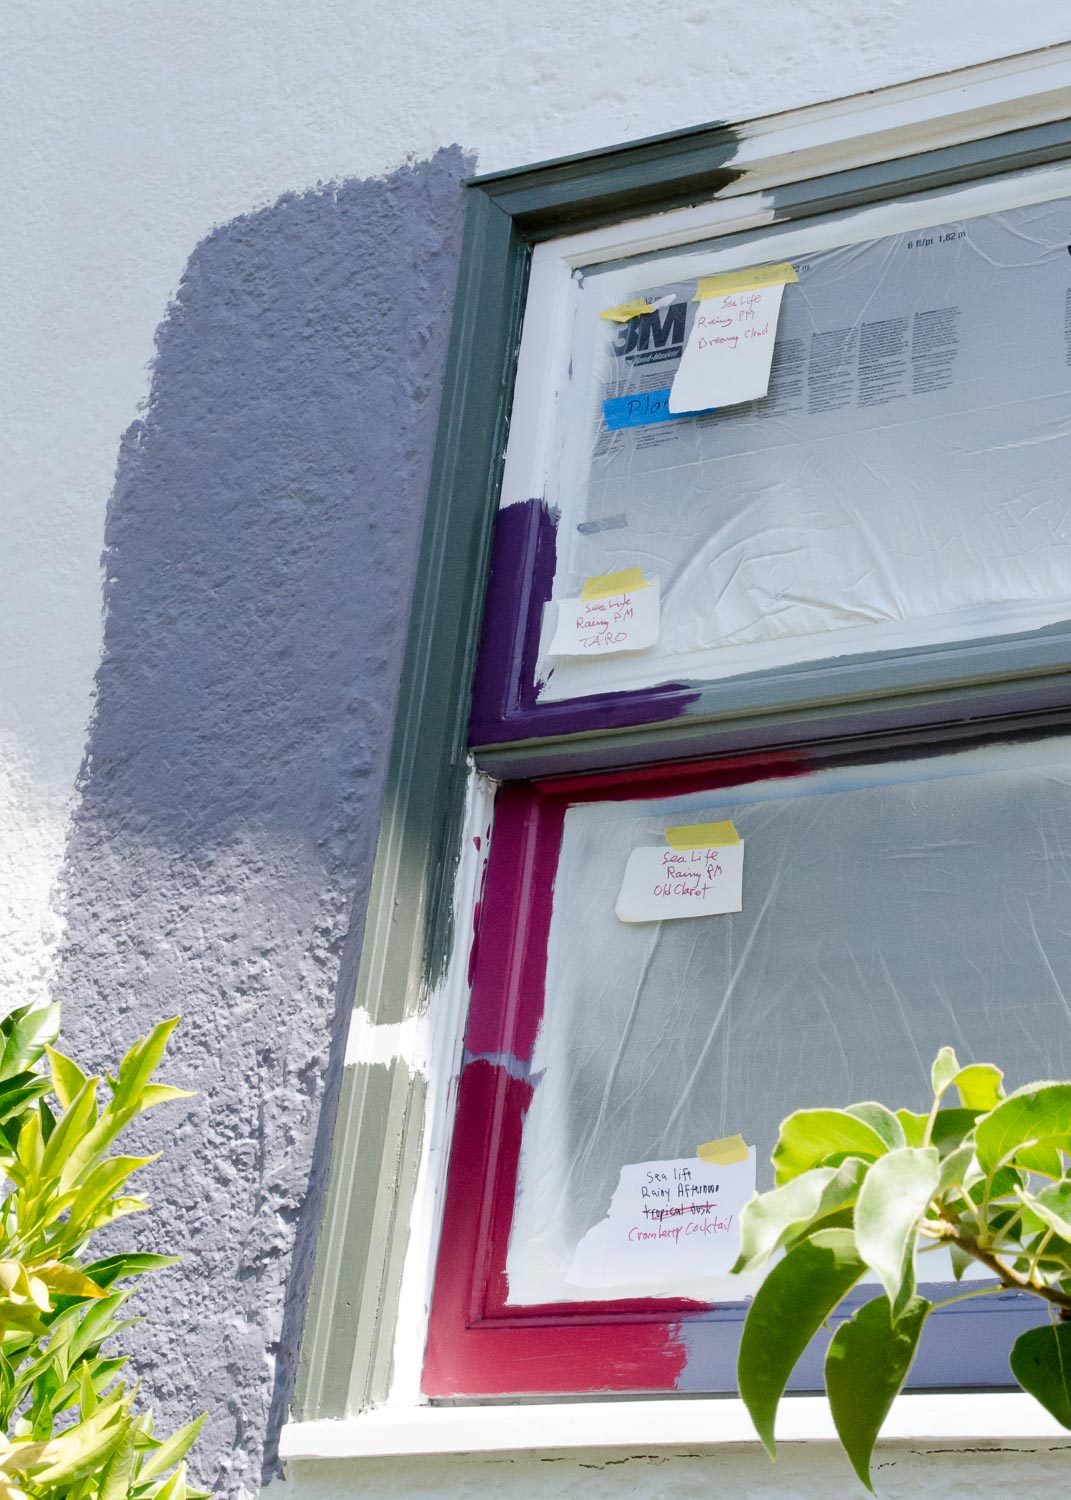
Custom Solutions: Whether it’s a bold new color palette or a delicate restoration, the team works closely with homeowners to bring their vision to life.
Attention to Detail: Every project is executed with precision, from surface preparation to the final brushstroke, ensuring a flawless result.
Eco-Conscious Practices: Arana uses low-VOC and environmentally friendly paints to ensure safety for families and the planet.
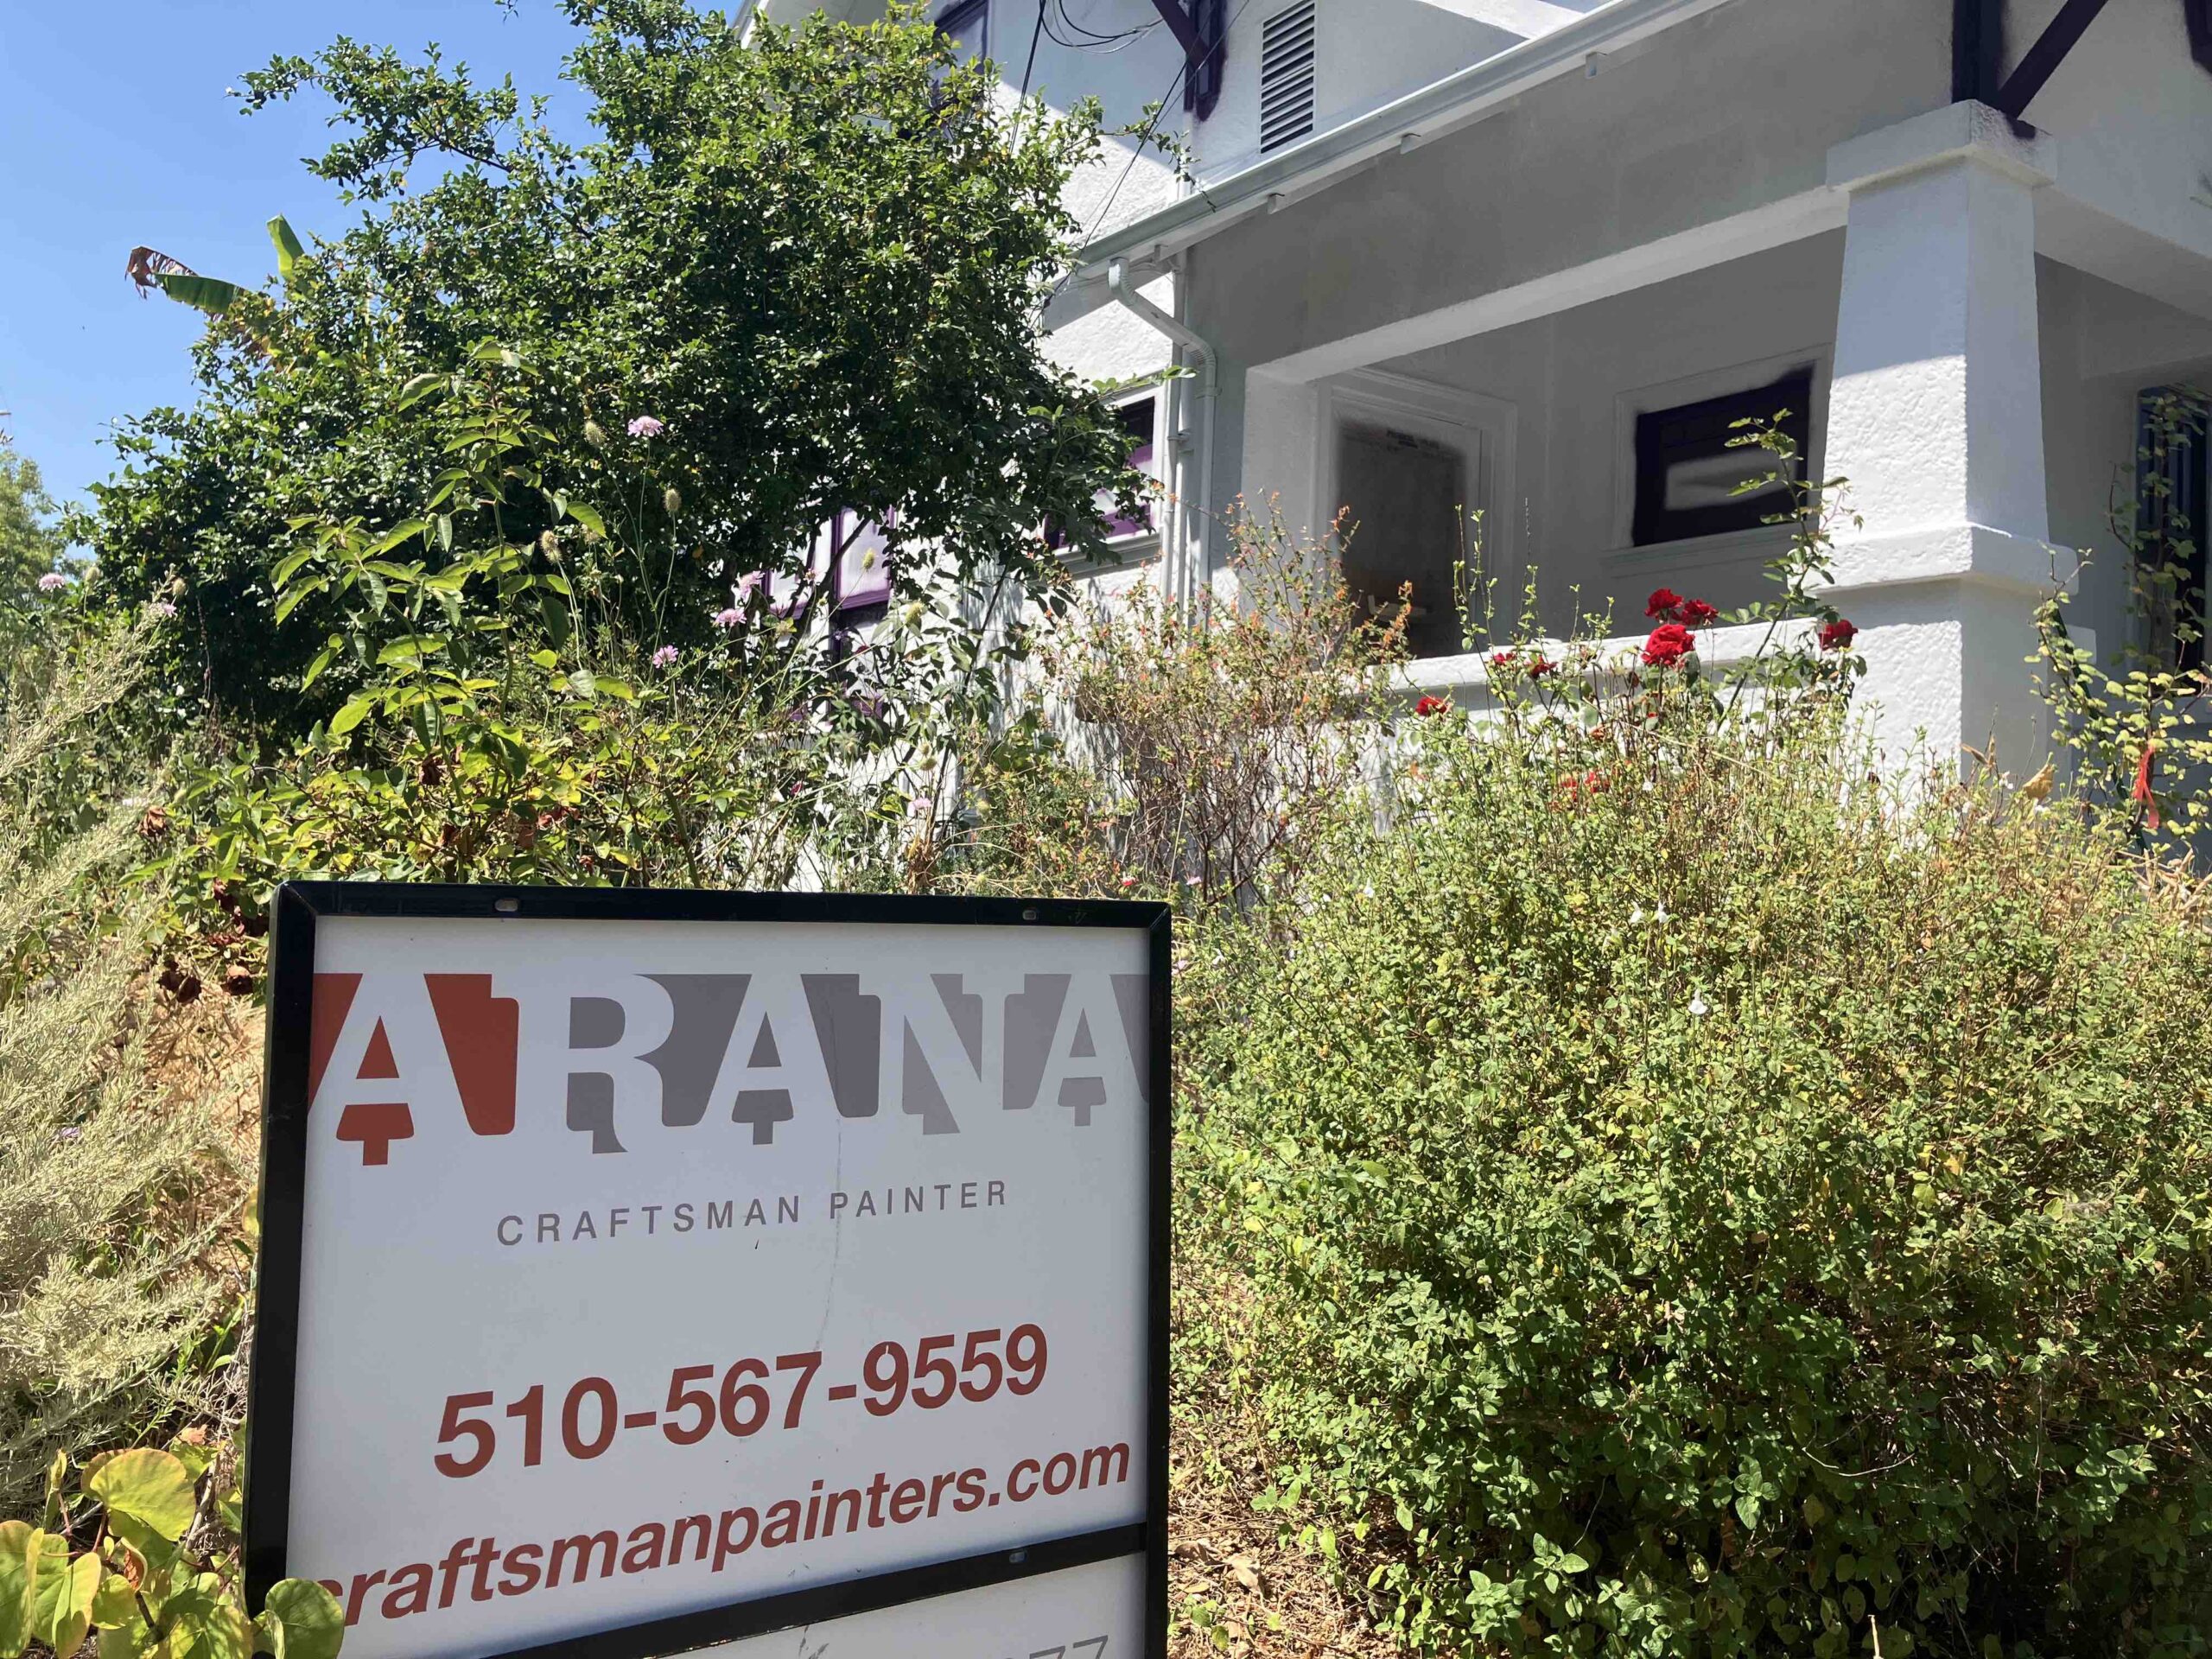
Licensed and Trusted: Fully licensed (#1085077) and highly reviewed by satisfied clients throughout Oakland and the Bay Area.
Comprehensive Services
Arana Craftsman Painters offers a wide range of painting services, including:
Interior Painting: Transform your living spaces with vibrant, mood-enhancing colors or subtle, sophisticated tones that reflect your personal style.
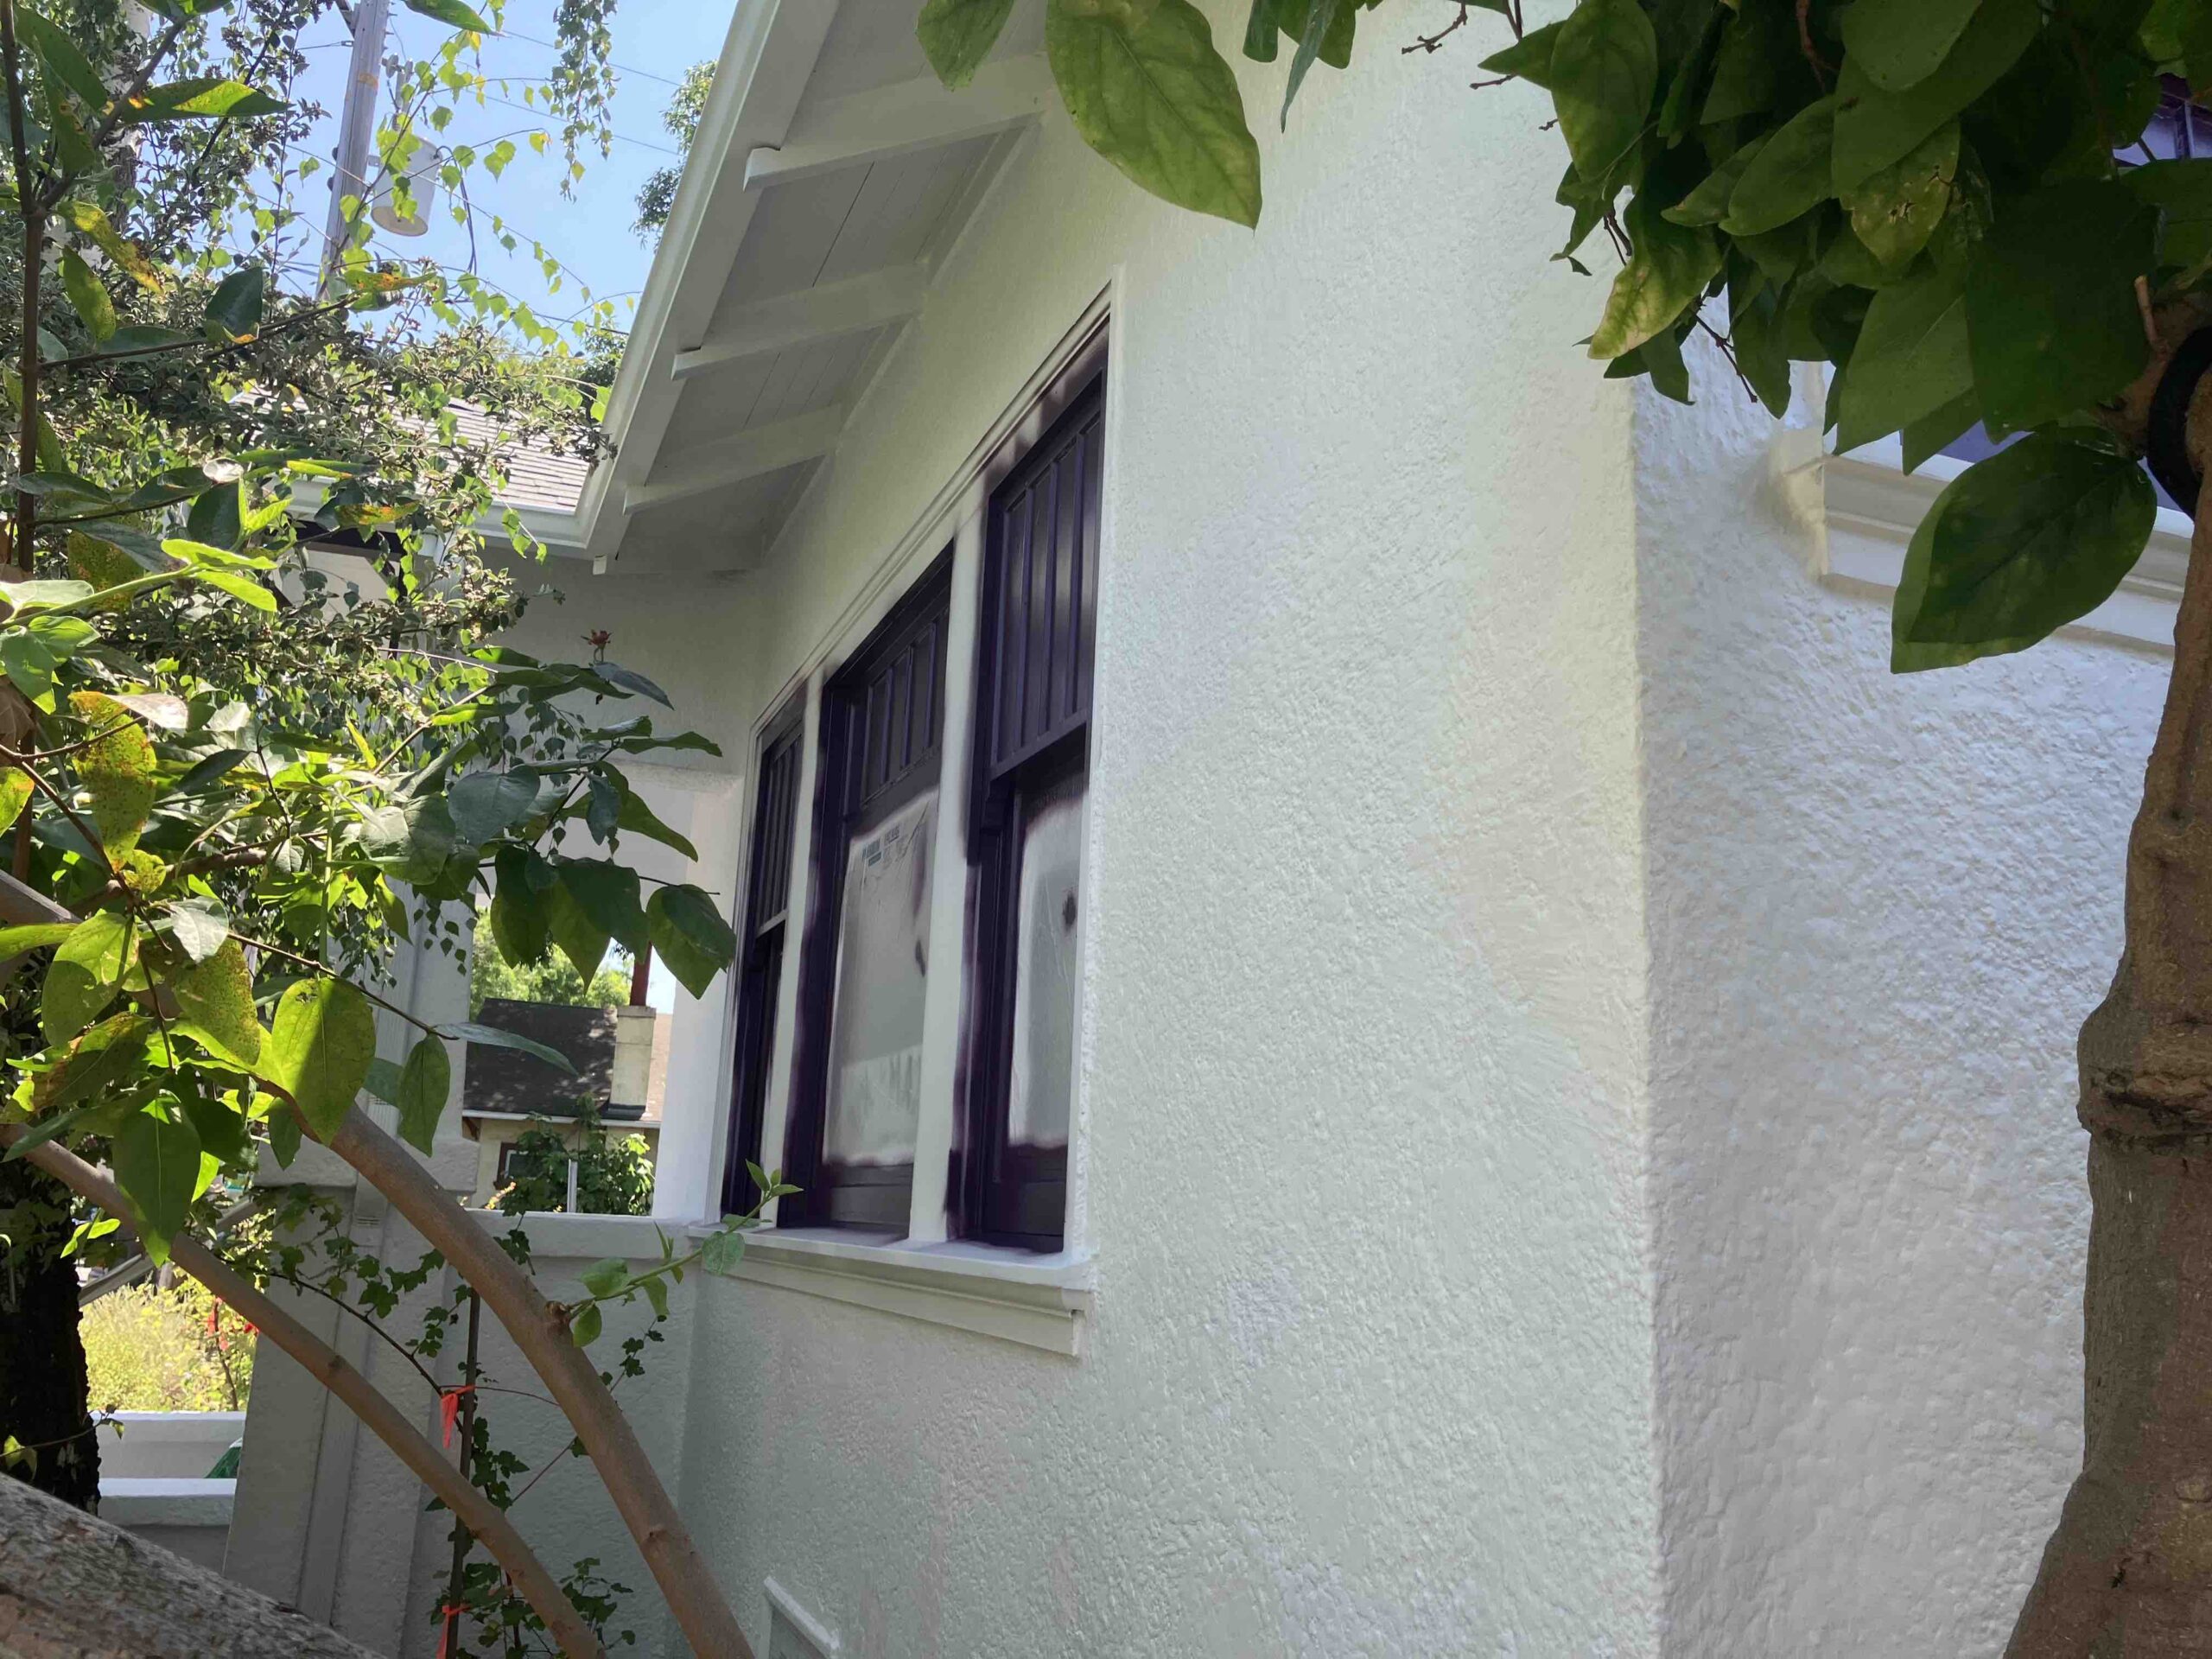
Exterior Painting: Protect your home from the elements while boosting curb appeal with durable and weather-resistant finishes.
Custom Finishes: Explore specialty painting techniques, including faux finishes, wood staining, and more.
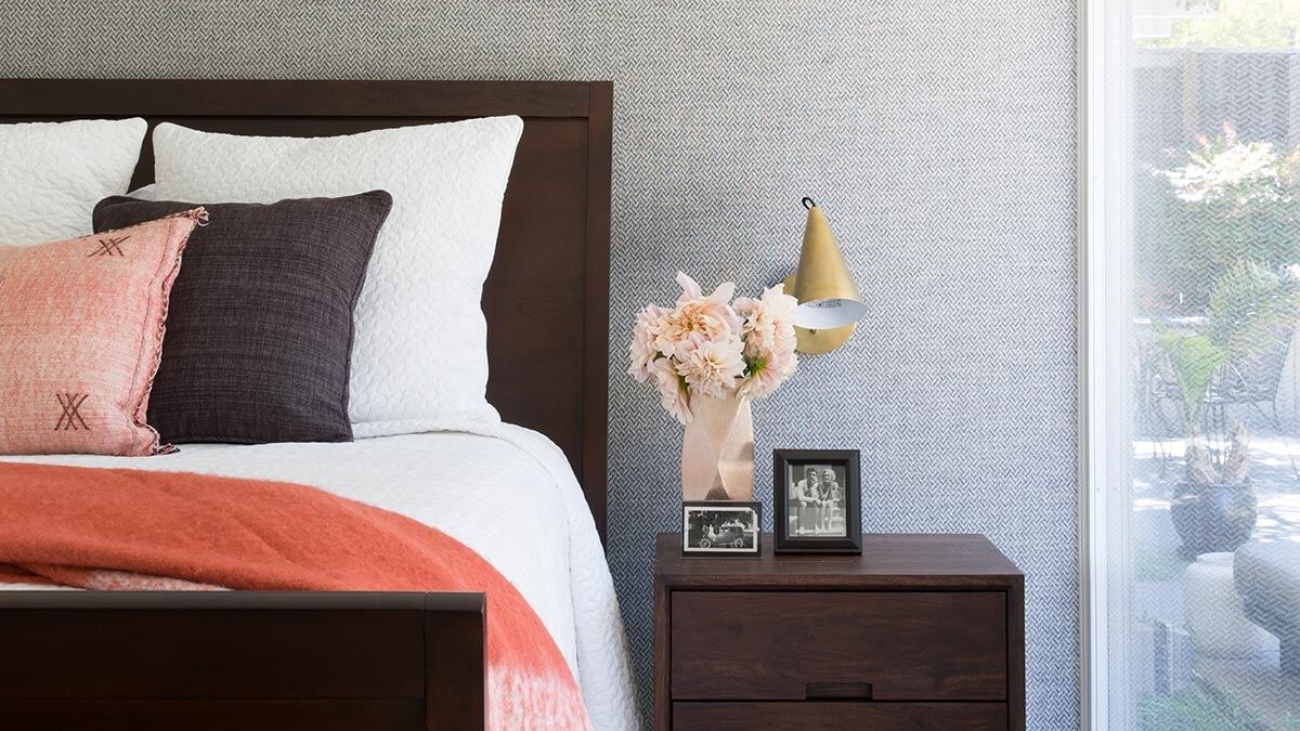
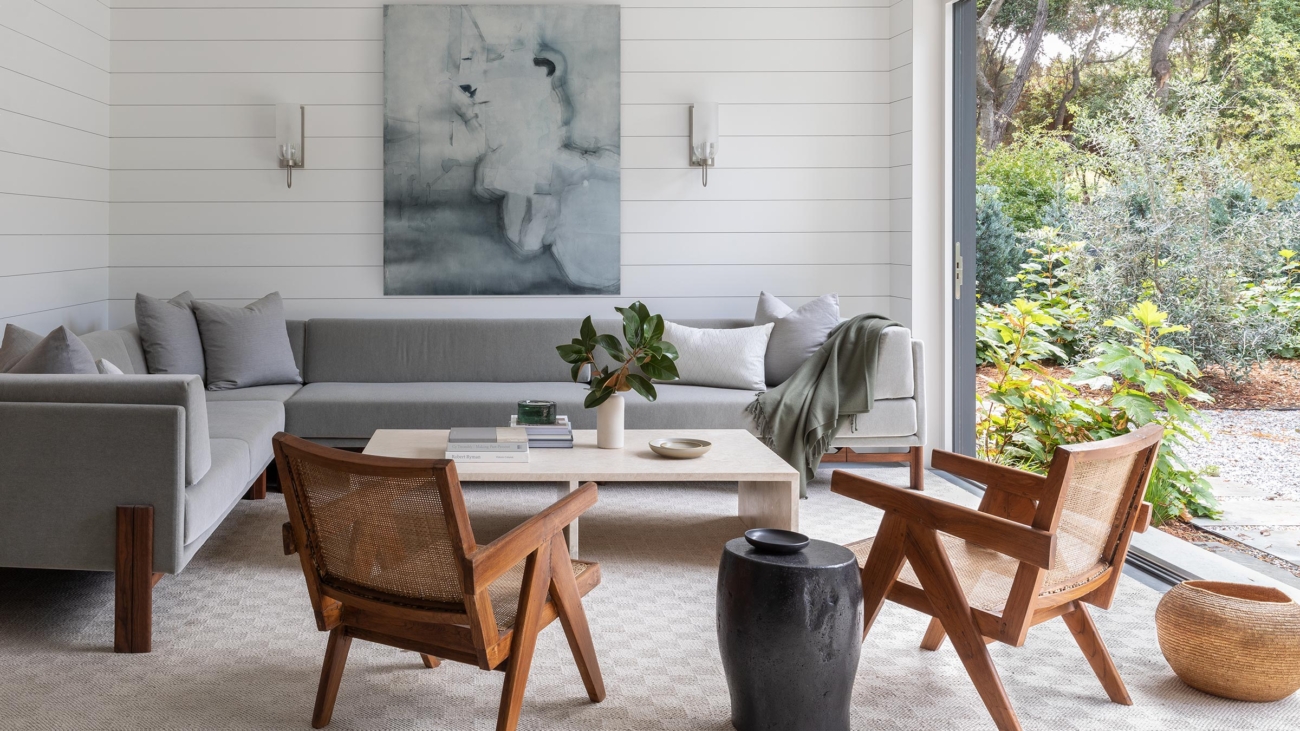
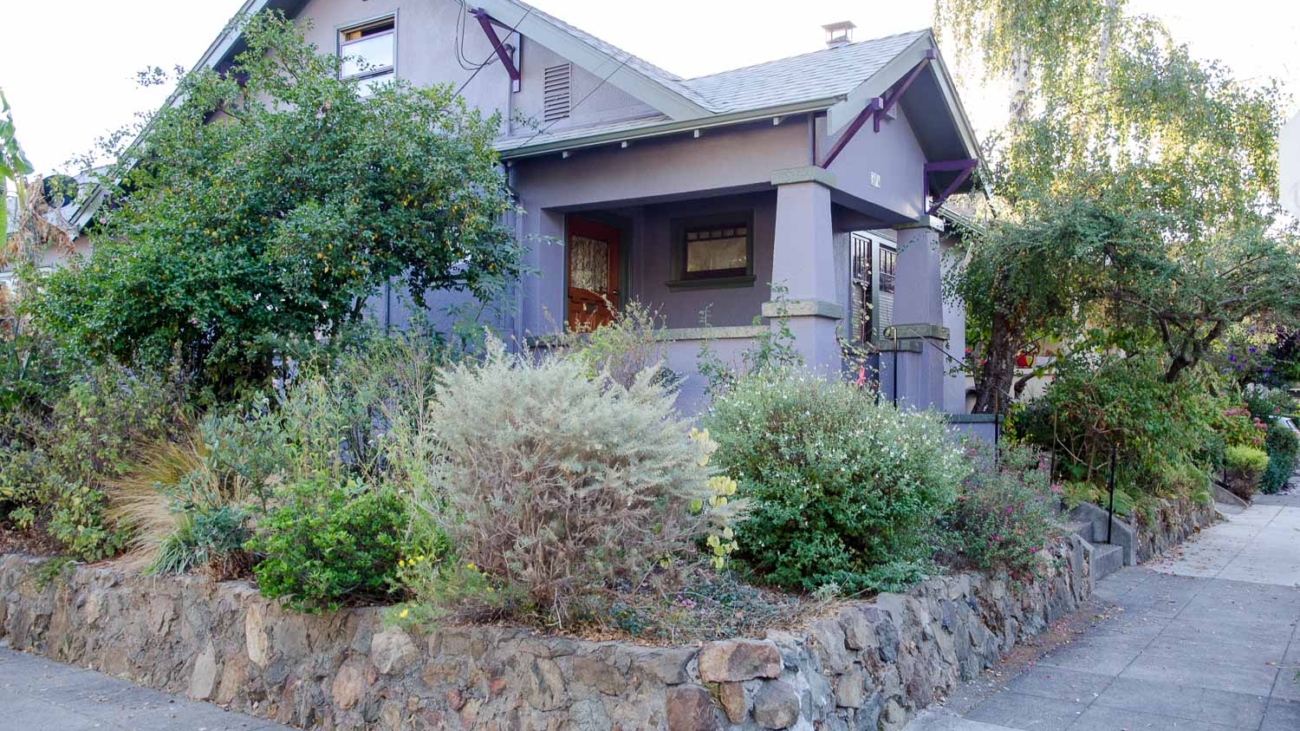
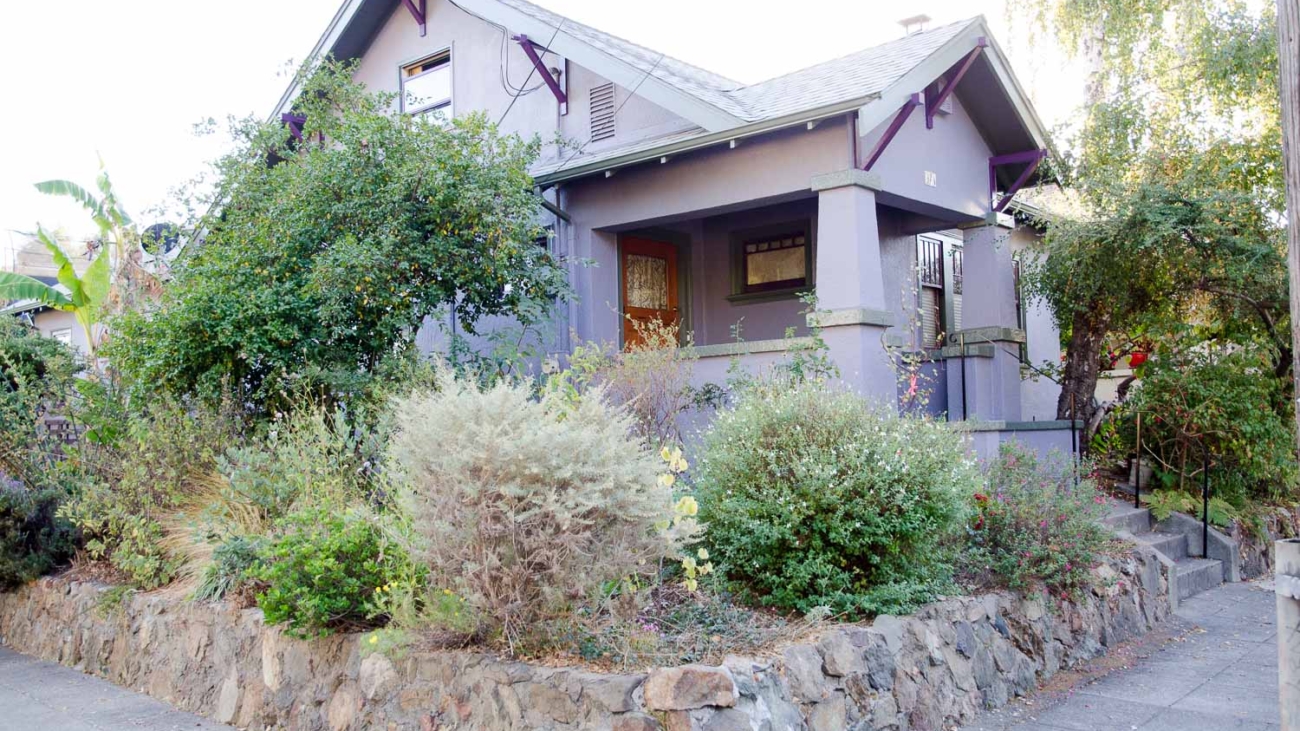
Historic Home Restoration: Arana’s expertise extends to restoring Oakland’s historic homes, ensuring preservation while adding contemporary elegance.
Client Testimonials
The reputation of Arana Craftsman Painters is backed by countless satisfied homeowners:
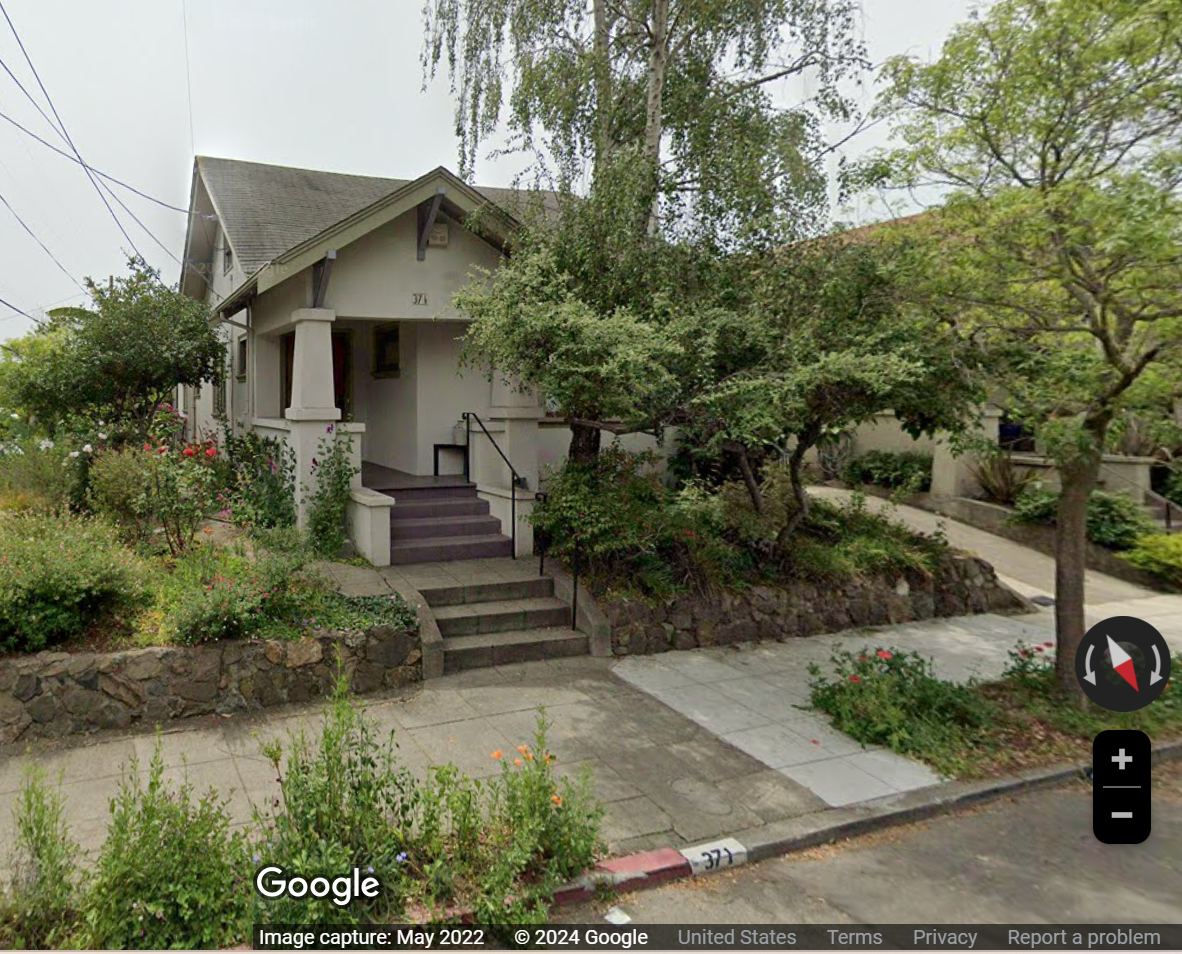
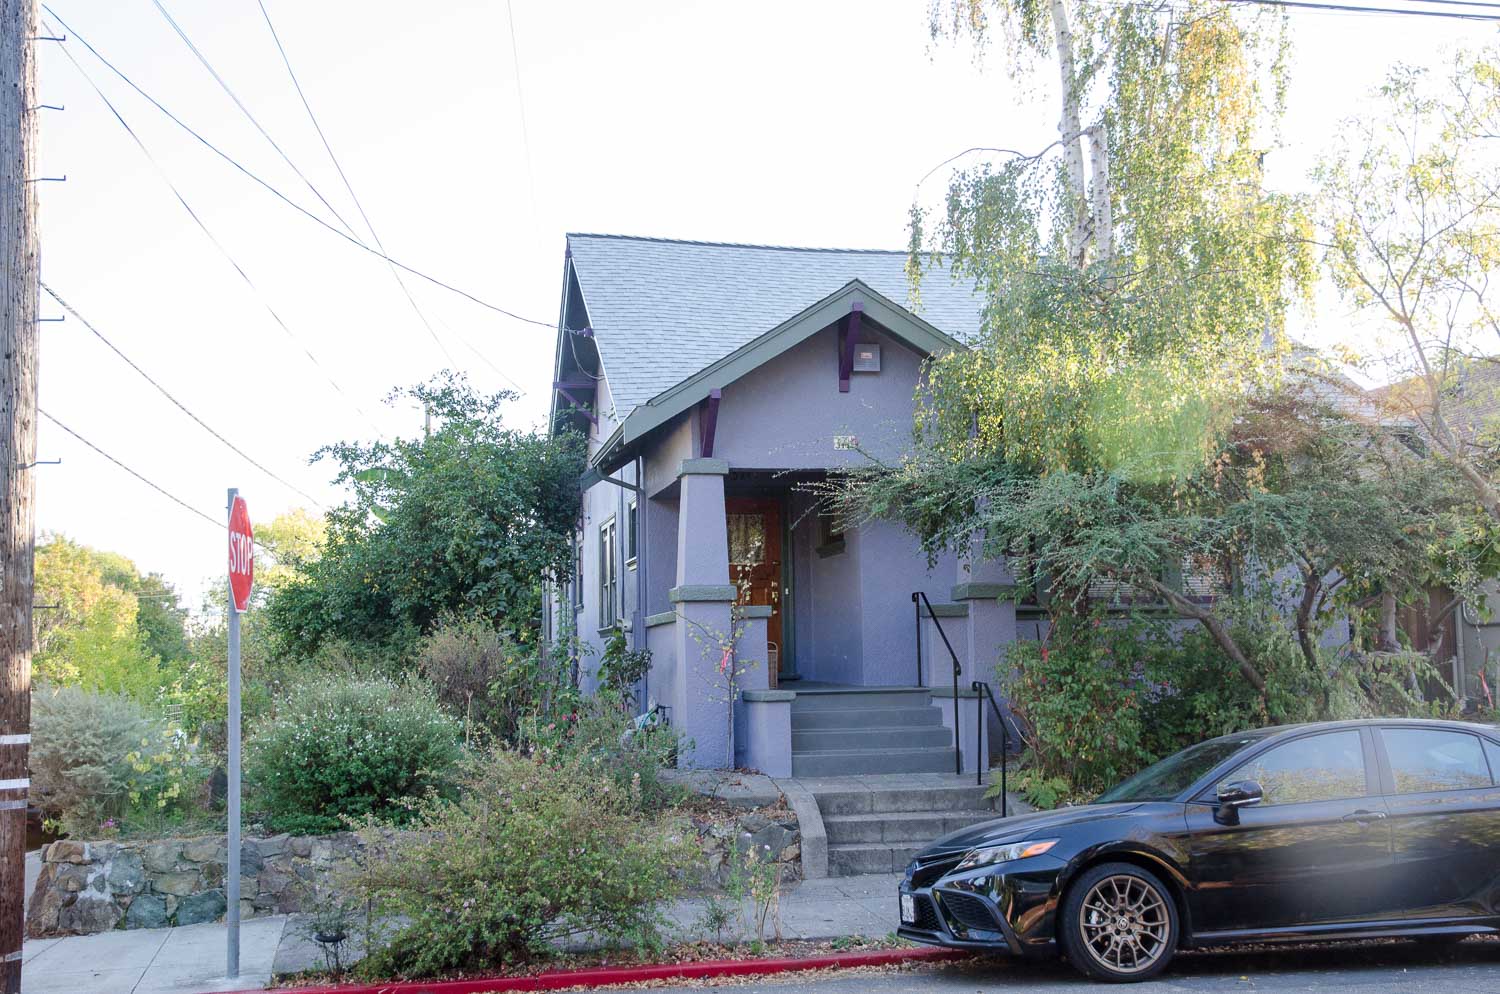
“Arana transformed our 1920s Oakland bungalow. The attention to detail and quality of their work were beyond what we could have hoped for,” said a recent client. “Our home now feels brand new, and we couldn’t be happier with the results.”
Free Consultations Now Available
As part of their commitment to serving the Oakland community, Arana Craftsman Painters is offering free consultations to homeowners interested in revitalizing their properties. During the consultation, clients can discuss their vision, explore color options, and receive a detailed project estimate.
About Arana Craftsman Painters
Arana Craftsman Painters is a family-owned business dedicated to delivering exceptional painting services throughout Oakland, CA, and the greater Bay Area. With a passion for craftsmanship and a commitment to customer satisfaction, Arana’s team of skilled painters works to preserve and beautify homes, creating lasting impressions for generations to come.
For more information about Arana Craftsman Painters and their services, visit their website at www.craftsmanpainters.com.


