Because you interior and exterior painted surfaces are more than just decorative we understand that the struggle is real to maintain their longevity. After all, you need your paint job to perform like an investment given how important it is and how much money is spent on them. To help ensure your painted elements maintain their vibrant finish and integrity over the years, we offer the following strategies for preserving these surfaces over time:
Routine Cleaning to Preserve Surface Beauty
One of the most essential steps in maintaining your paint job is regular cleaning. Dirt, dust, grime, and pollutants settle on painted surfaces daily, especially on exterior walls and high-touch interior areas and start to eat away at them.
Interior Surfaces
- First and foremost – USE THE RIGHT SHEEN ON THE RIGH SURFACE UNDER THE RIGHT CONDITION. For instance, if you have kids and dogs, do not use flat on your hallway walls. Use Eggshell. Paint wood trim with Semigloss. Satin is just not good enough.
- Dust and Wipe Weekly: Use a soft microfiber cloth or dry duster to gently wipe painted walls. For flat and matte finishes, avoid excessive pressure.
- Spot Clean Smudges: For stains, use a mild dish soap and warm water mixture. Apply with a soft sponge, then blot dry with a clean towel. On a matte sheen or higher, you can use the magic eraser.
- Avoid Abrasives: Harsh scrubbers, bleach, or ammonia-based products can erode the paint layer, causing discoloration and surface damage.
Exterior Surfaces
- Annual Wash-Down: Use a garden hose or low-pressure washer to rinse dirt and mildew from exterior walls. Mix gentle detergent and water for persistent spots.
- Brush Mold Away: Use a long-handled soft-bristle brush for areas prone to mildew or algae growth, especially on shaded or damp walls.
- Inspect After Storms: Clean gutters and wash away storm debris promptly to avoid permanent staining or paint erosion.
Inspect and Touch Up Regularly – Especially problem areas
Consistent inspections are vital to identify issues before they worsen. Paint isn’t just for looks—it protects surfaces from moisture, UV damage, and wear.
What to Look For
- Chalking: A powdery residue on painted exteriors indicates oxidation and UV damage. Wash gently and plan for repainting soon.
- Delaminating Stucco
- Cracking or Peeling in the paint film: These are signs of aging, poor surface prep, or moisture problems. Scrape loose areas and apply touch-up paint promptly. Don’t allow cracks in your stucco to go un-addressed for very long. If the stucco is separating from the wood trim make sure to seal that up as quickly as possible. Water can enter these areas undetected and interior wood can rot causing expensive repairs.
- Blistering: This points to trapped moisture or heat. Address underlying moisture issues before repainting to avoid recurrence.
- Fading: UV rays can dull vibrant colors, particularly dark hues. Consider UV-resistant coatings during the next repaint. Avoid dark colors as they fade and fail quicker.
Touch-Up Techniques
- Make sure your leftover paint is stored in sealed containers and labeled by room name, surface, color name and code, and the date.
- Flat can be touched up if you use a high quality paint. Matte, Eggshell, Satin and Semi-gloss cannot be touched up.
- If you aren’t super picky, you can feather the edges of touch-ups using a high-quality brush or foam roller to prevent noticeable lines.
Control Moisture to Prevent Paint Degradation
Standing moisture is the silent destroyer of painted surfaces. Both interior and exterior paint suffer under prolonged exposure to humidity, leaks, or poor ventilation.
Interior Moisture Control
- Use Exhaust Fans: In kitchens, bathrooms, and laundry rooms, run fans during and after use to disperse moisture.
- Fix Leaks Promptly: Any sign of water stains, bubbling, or musty smells should be traced to a plumbing or structural leak and addressed immediately.
- Invest in Dehumidifiers: In damp climates or basements, use dehumidifiers to maintain safe humidity levels (between 30-50%).
Exterior Moisture Control
- Keep Gutters Clean: Overflowing gutters allow water to trickle down painted siding, causing premature peeling.
- Seal Gaps and Cracks: Use high-grade caulk around windows, doors, and siding to prevent water intrusion.
- Grade Landscaping Properly: Ensure the ground slopes away from the home’s foundation to reduce splash-back onto painted surfaces.
- Install proper drainage around your home to move water away.
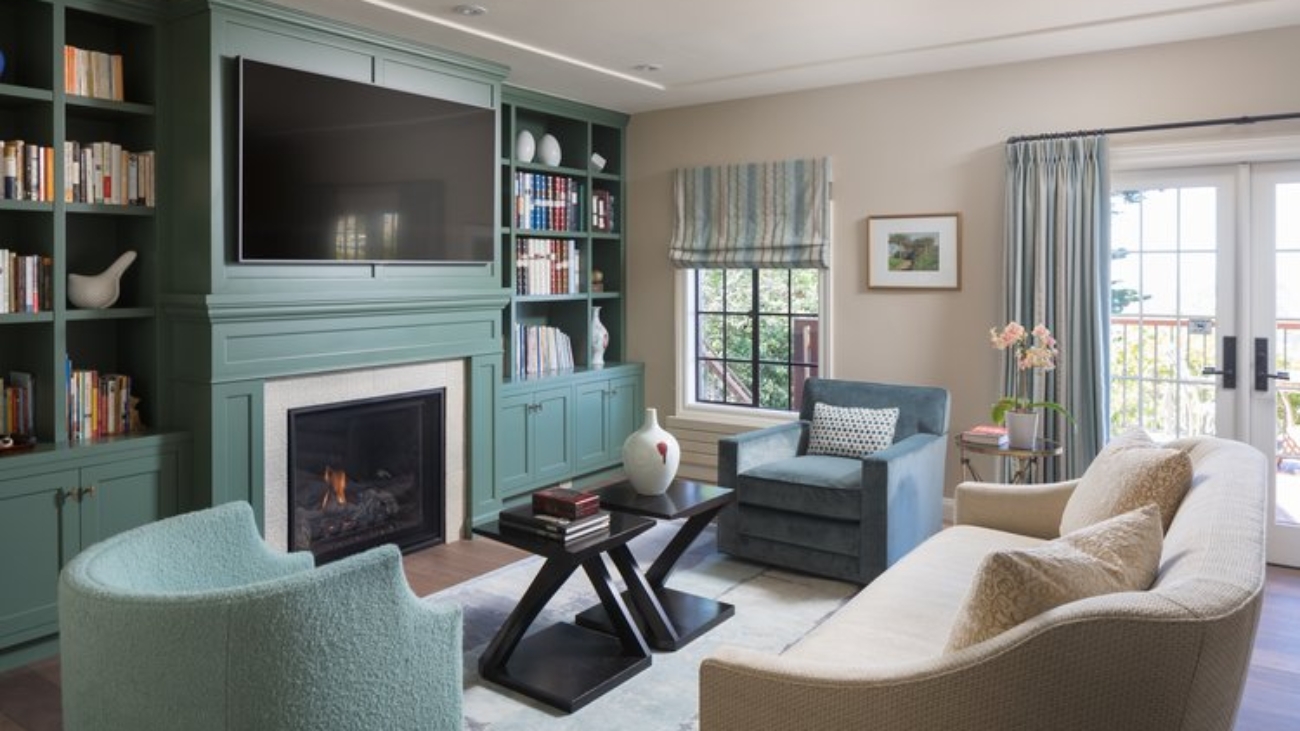
Protect High-Traffic Areas with Durable Finishes
Not all paints are created equal. For hallways, staircases, baseboards, and other high-contact zones, durable, high-quality and washable sheens are critical.
Recommended Sheens
- Satin or Eggshell: Ideal for living rooms and hallways—easy to clean and can be resistant to minor scuffs depending on the inhabitants.
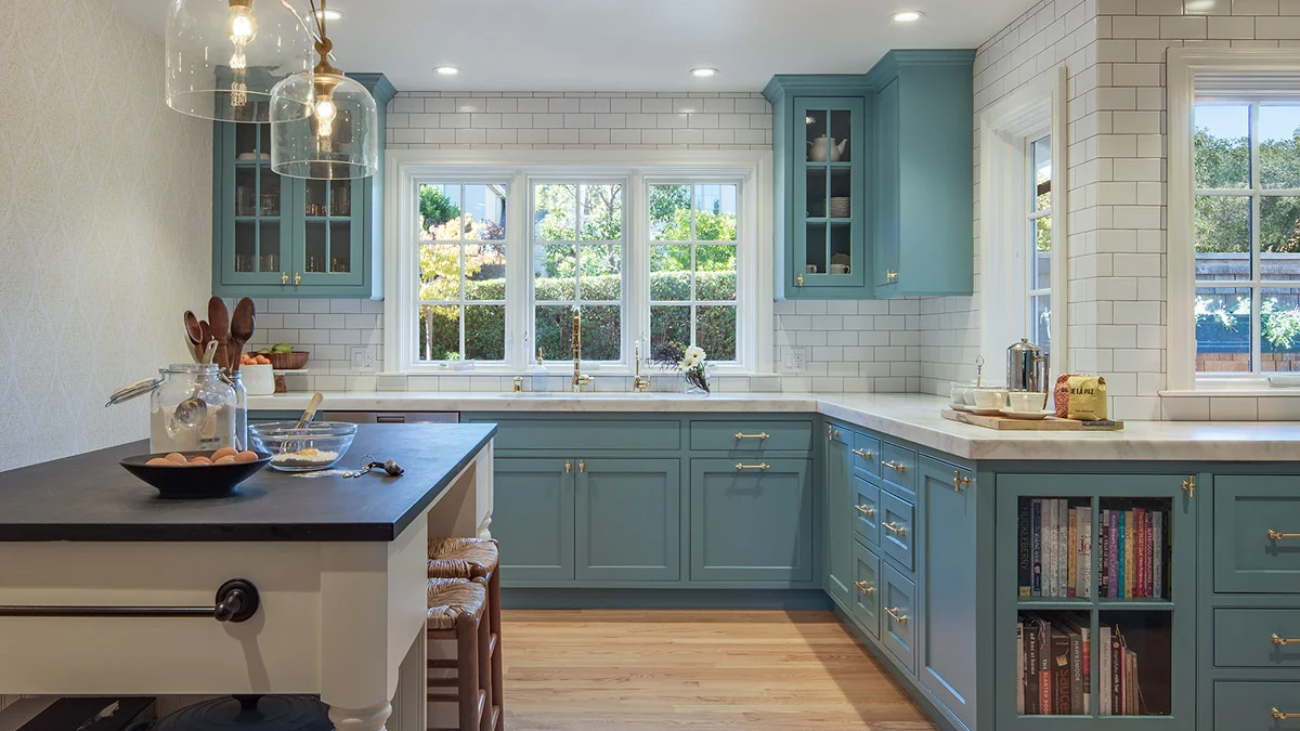
- Semi-Gloss or Gloss: Best for trim, doors, kitchens, and bathrooms due to superior moisture resistance and cleanability.
Preventing Damage
- Add chair rails or wall guards in narrow hallways or children’s rooms.
- Use felt pads on furniture to prevent scuffing painted baseboards.
- Establish regular cleaning routines to prevent buildup of oils, fingerprints, and grime.
Use Quality Materials for Long-Term Results
High-quality primers, paints, and application tools are an absolute must and will significantly extend the life and durability of the surface.
Why Quality Matters
- Premium paints contain higher quality raw materials, superior formulations with better pigments and binders and other ingredients. This leads to longer-lasting, more vibrant color retention.
- Top-tier primers ensure optimal adhesion, seal porous surfaces, protect wood and ensure adhesion.
- Professional-grade equipment, brushes and rollers help to apply paint more evenly and efficiently, reducing streaks and ensuring consistent coverage.
Our Recommendations
- For interiors, use at least a matte sheen on high traffic walls, use paint from trusted brands like Benjamin Moore, Sherwin-Williams, or Farrow & Ball.
- For exteriors, a good quality latex with a light color choice will ensure a longer lasting finish.
- Always apply at the recommended temperature and humidity levels to ensure proper curing.
Schedule Routine Repainting Intervals
Even with diligent maintenance, painted surfaces will eventually need to be refreshed. Repainting not only renews aesthetic appeal but also reinforces the protective barrier.
Average Lifespan of Painted Surfaces
- Interior Walls: 5–7 years (more frequent for high-traffic rooms)
- Ceilings: 10+ years unless exposed to smoke or moisture
- Exterior Siding: 5–10 years depending on climate and paint quality
- Wood Trim: 3–5 years due to exposure and expansion/contraction
Planning for Optimal Results
- Choose seasonal windows for exterior repaints—with our 5-year guarantee and our unique geographical location in the San Francisco and Oakland Bay Area we can paint all year round without fear of issues.
- Hire professional painters who put an emphasis on proper surface preparation which is 90% of a quality paint job. Also a professional company will know local regulations, standards and rules.
- Consider color updates or trending finishes that modernize your space while boosting protection. Our contracts offer a professional color consultation to assist in the color selection process.
Partner with Arana Craftsman Painters for Lasting Excellence
Arana Craftsman Painters brings over 50 years of combines experience to every project, whether maintaining, restoring, or completely renewing painted surfaces. Our team emphasizes meticulous prep work, high-quality materials, and expert techniques that ensure your paint finish stays pristine longer.
We also provide ongoing maintenance consultations, helping homeowners and property managers protect their investments with confidence. With our team on your side, long-lasting beauty and protection are more than achievable—they’re guaranteed.
Final Thoughts on Paint Longevity
Paint is more than color—it’s protection and preservation of your greatest asset. When properly maintained, your home will remain vibrant and structurally sound for years to come. Follow these expert maintenance tips, and when it’s time for professional touch-ups or full repaints, trust the team at Arana Craftsman Painters to deliver unparalleled craftsmanship and lasting results.