First impressions matter, and the exterior of your home sets the tone for everything inside. A beautifully painted exterior not only enhances visual charm but also protects your property from the elements. When done by professionals, exterior painting becomes one of the most effective investments in elevating curb appeal, boosting property value, and creating a welcoming atmosphere.
The Power of Exterior Painting in Transforming Your Home
A fresh coat of paint does more than brighten a surface. It has the power to transform the entire personality of your home. Whether your style leans modern, classic, or rustic, color choices and professional techniques highlight architectural details, frame windows and doors, and create a cohesive look.
- Color harmony: Balanced tones can make a small house look more spacious or a large home feel warmer and inviting.
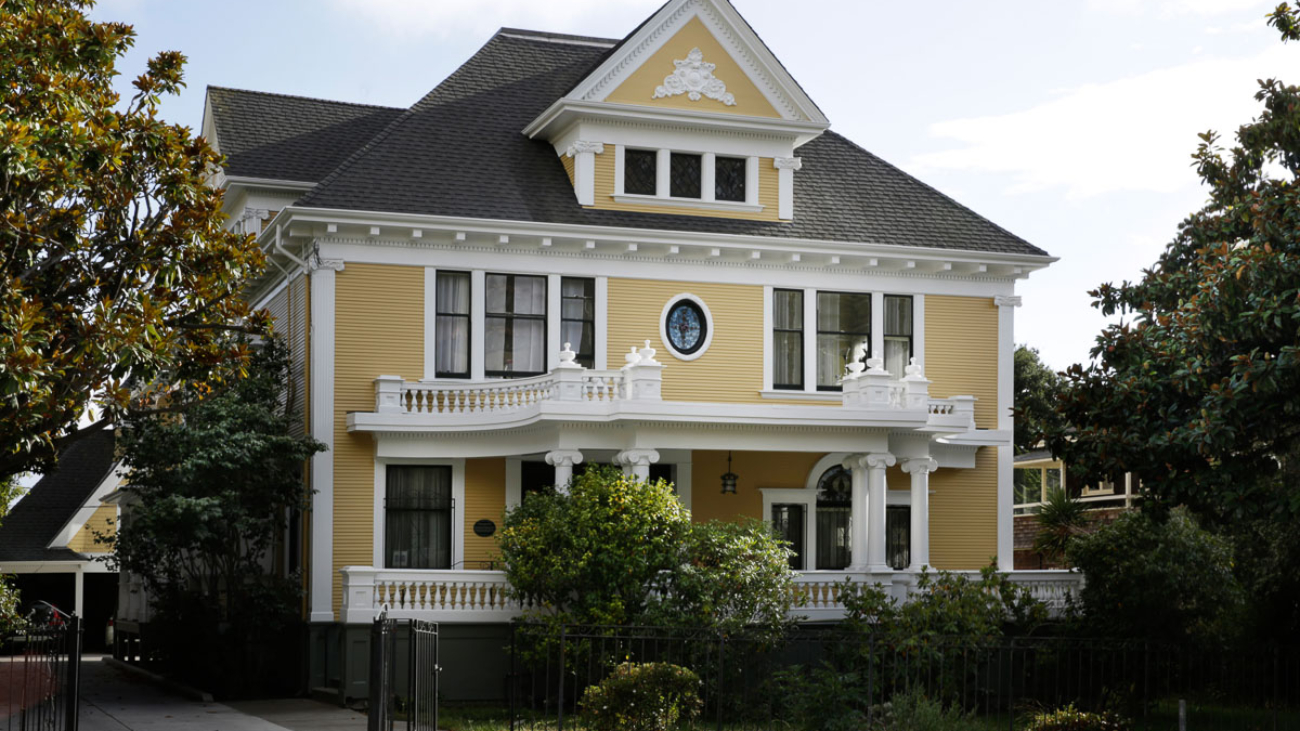
- Defining architecture: Contrasting trim colors emphasize rooflines, eaves, and entryways, giving your home dimension.
- Creating character: From bold, modern statements to subtle, timeless shades, paint breathes life into the design.
Why Professional Painting Outshines DIY
While many homeowners consider tackling exterior painting on their own, the expertise of professional painters cannot be overstated.
- Precision preparation: Professionals meticulously clean, sand, and prime surfaces to ensure flawless adhesion and long-lasting results.
- Superior materials: High-quality paints, sealants, and finishes are selected for maximum durability against weathering, fading, and peeling.
- Safety standards: From tall ladders to protective equipment, professionals are trained to handle challenging conditions safely.
- Time efficiency: Skilled teams complete projects in a fraction of the time while maintaining exacting standards.
The result? A finish that not only looks stunning on day one but remains vibrant and protective for years.
Choosing the Perfect Exterior Color Palette
Selecting the right colors is often the most exciting yet challenging step. A thoughtful palette elevates curb appeal while complementing the neighborhood and natural surroundings.
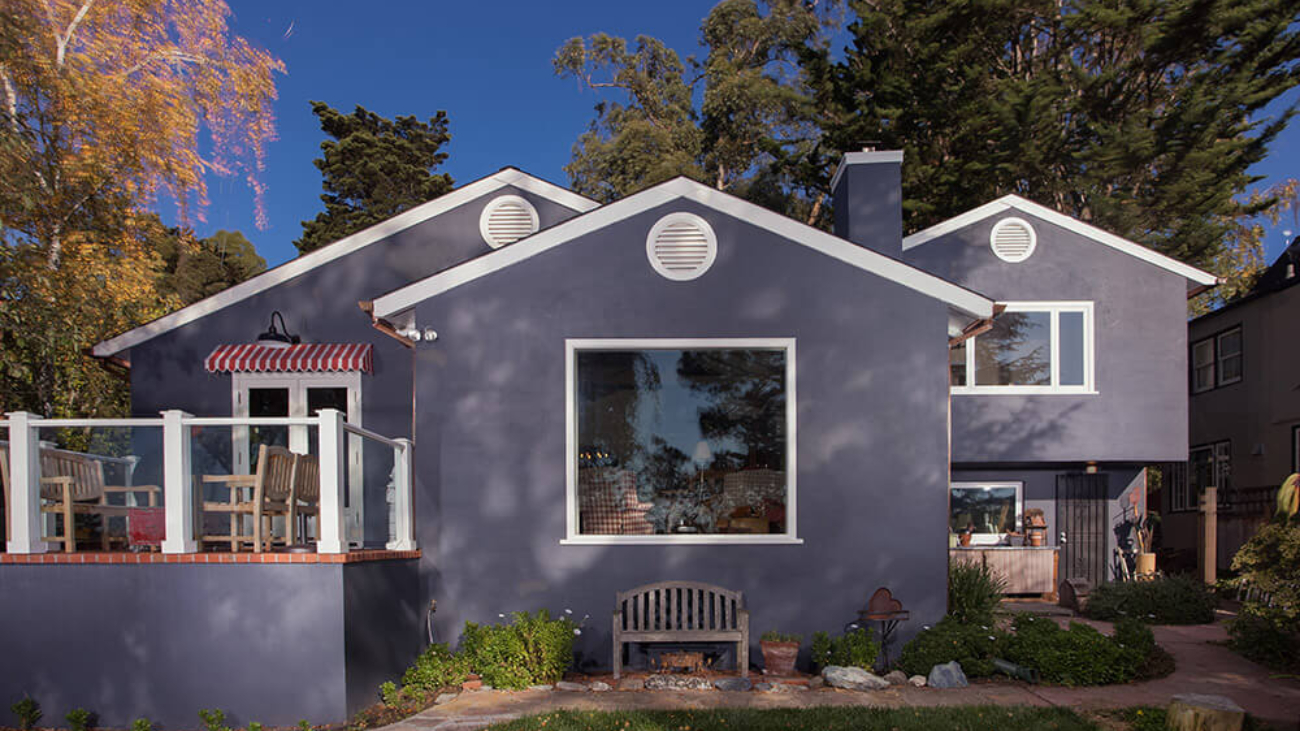
- Neutral bases for timeless elegance: Whites, grays, and beiges never go out of style and create a clean canvas.
- Bold accents for character: Deep blues, forest greens, or earthy reds add unique personality without overwhelming the structure.
- Trim and detail contrasts: White trim against darker siding or black accents against soft tones create crisp, eye-catching definition.
- Consider lighting: Natural sunlight alters color appearance throughout the day, making sample testing essential.
Professionals can provide color consultations, ensuring shades harmonize with landscaping, roofing, and architectural style.
The Lasting Benefits of Professional Exterior Painting
Beyond curb appeal, exterior painting delivers significant long-term advantages:
- Enhanced property value: Homes with fresh exteriors consistently attract higher market interest.
- Weather resistance: Quality paints shield wood, stucco, and siding from moisture, UV rays, and seasonal changes.
- Preventative maintenance: Sealing cracks and imperfections prevents costly structural damage.
- Energy efficiency: Lighter colors can reflect heat, reducing cooling costs in warmer climates.
This combination of beauty and protection makes professional painting one of the most valuable improvements for homeowners.
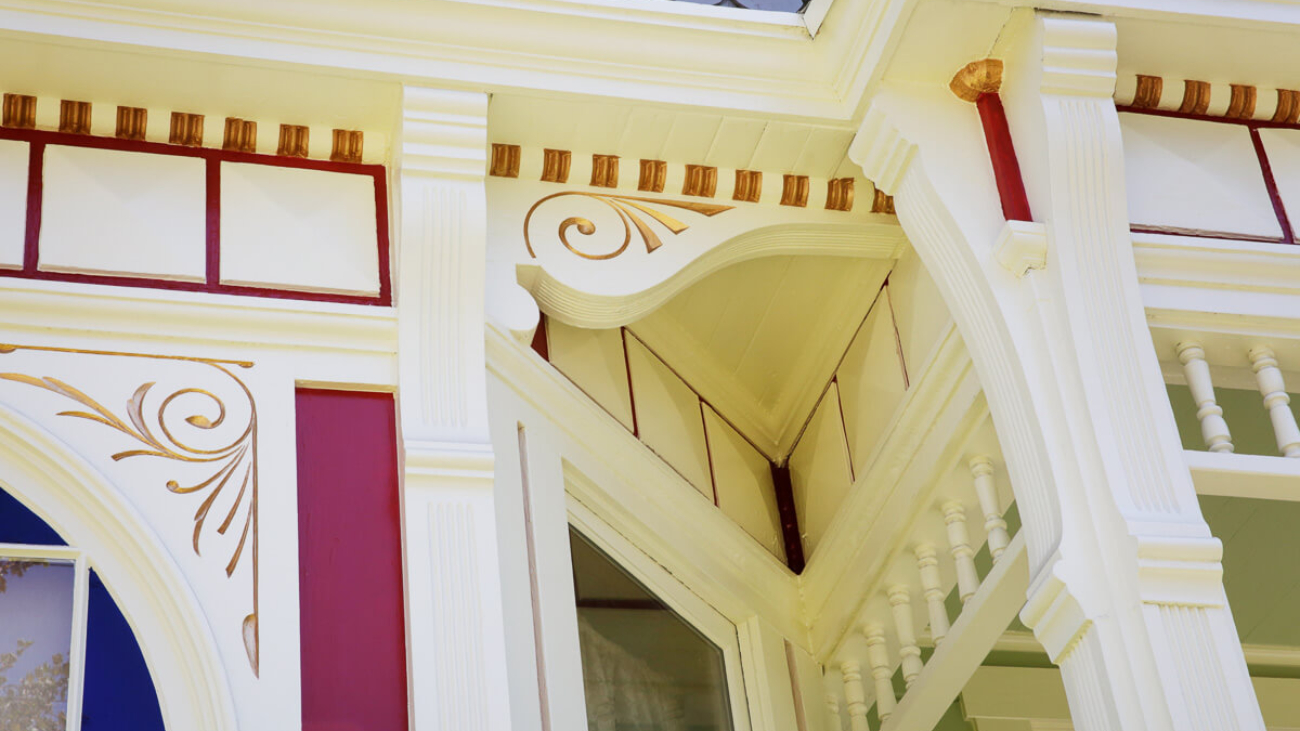
Highlighting Architectural Details with Paint
Every home has features that deserve attention. Professional painters know how to use color and finish to make those features shine:
- Front doors: A bold color instantly creates a focal point and welcoming atmosphere.
- Window trim: Contrasts frame windows beautifully, drawing the eye and adding depth.
- Columns and railings: Fresh paint highlights entryways, giving porches a crisp, finished look.
- Shutters and accents: Coordinated accent colors unify the home’s style and elevate charm.
Even subtle changes can significantly increase a property’s visual appeal when strategically applied.
Preparation: The Foundation of Lasting Results
A professional finish is only as good as the preparation behind it. This critical step ensures durability and elegance:
- Thorough cleaning: Pressure washing removes dirt, mildew, and peeling paint.
- Surface repair: Cracks, chips, and wood rot are repaired to create a smooth canvas.
- Priming: Surfaces are sealed and primed for optimal paint adhesion.
- Weatherproofing: Caulking around windows, doors, and joints prevents water intrusion.
Skipping or rushing preparation is the main reason DIY results often fail prematurely.
Seasonal Considerations for Exterior Painting
Timing matters when it comes to exterior painting. Professional painters schedule projects with weather conditions in mind:
- Spring and fall: Ideal temperatures provide optimal paint curing conditions.
- Dry days: Moisture and humidity can compromise adhesion and finish quality.
- Sun exposure: Strategic scheduling ensures paint application avoids blistering or uneven drying.
Professionals monitor forecasts closely, ensuring results are both beautiful and resilient.
Eco-Friendly and Durable Paint Options
Homeowners today value eco-conscious choices, and the painting industry has responded with sustainable solutions:
- Low-VOC paints: Improve indoor and outdoor air quality with reduced chemical emissions.
- Advanced finishes: Formulations designed to resist fading, cracking, and peeling for extended longevity.
- Reflective coatings: Environmentally friendly options that reduce energy use by reflecting sunlight.
These modern innovations allow for an eco-friendly transformation without compromising quality.
Boosting Curb Appeal for Selling Your Home
For those planning to sell, professional exterior painting can be a game-changer. Real estate agents consistently note that fresh paint increases buyer interest and accelerates sales:
- First impression power: Homes with fresh, vibrant exteriors photograph better for listings.
- Buyer confidence: Well-maintained exteriors suggest equally cared-for interiors.
- Higher offers: Buyers are willing to pay more for homes that look move-in ready.
This relatively small investment can yield substantial returns at closing time.
Partnering with the Right Painting Professionals
Selecting the right painting company ensures a stress-free process and outstanding results. Key qualities to look for include:
- Proven experience and portfolio demonstrating diverse projects.
- Positive client reviews highlighting professionalism and quality workmanship.
- Transparent estimates with detailed breakdowns of costs and materials.
- Warranties and guarantees for peace of mind and lasting satisfaction.
Trustworthy professionals not only enhance curb appeal but also build long-term relationships with homeowners.
Final Thoughts
Investing in professional exterior painting is one of the most effective ways to boost curb appeal, protect your home, and enhance its overall value. From careful preparation to expert color selection and precise application, the benefits extend far beyond aesthetics. Whether refreshing a beloved family home or preparing a property for sale, a professionally painted exterior creates lasting beauty and confidence.